
Here's a mini bulletin board made from a simple picture frame (I'm using a 5" x 7" frame) and a piece of cork board. I found my cork at Ben Franklin...they sell them in 12" x 12" sheets. Remove the glass from your picture frame and add a piece of cork measured to fit the frame. If you have trouble closing the back panel trim your cork back a little at the side that closes the frame.

I also decorated a couple of push pins by stamping our large sakura stamp (#6043) on shrink plastic and adhering them to some push pins (I used Glossy Accents to attach the sakura to the push pins).

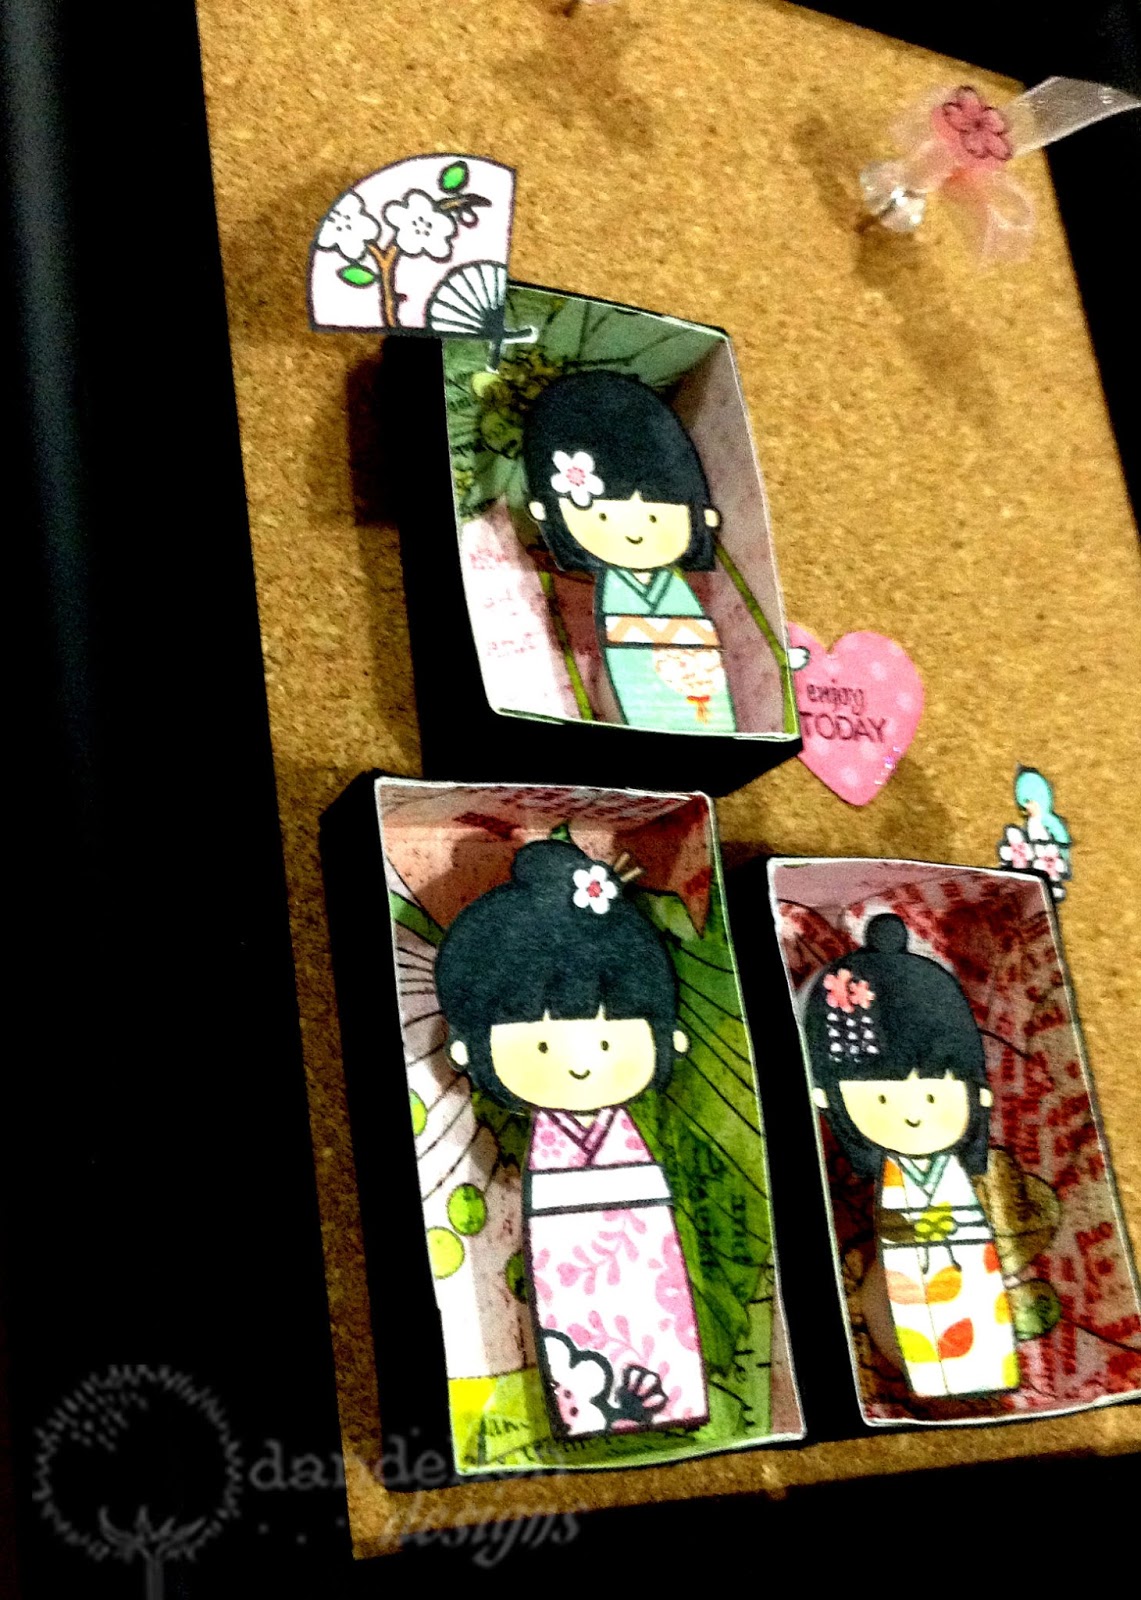
To make the boxes, click here for the patterns. The boxes come in three sizes (to fit each of the kokeshi girls from cling set, "Enjoy Today", MC-60)...an outer box (shown in black paper) and an inner box (shown in printed paper). Cut out each of the pattern pieces along the solid lines and fold along the dotted lines. Put double stick tape on each of the tabs (notice the tabs on the outer box face a different direction from the tabs on the inner box (this is to reduce the bulk when the two boxes are put together).

Put the boxes together. Adhere the tabs of the black box on the inside...and adhere the tabs of the printed box on the outside (as shown below). Fit the printed box into the black box (all tabs are now hidden). Before gluing the two boxes together, check to see if any of the top edges need to be trimmed (it's easier to do when the boxes are still separated).

Glue inner box to outer box:

Here's one more tip in adding a bird to one of the corners of the boxes (Bird stamp is from cling set, "Special Day", MC-61). Use the corner of a piece of card stock as your guide and mark off a 90 degree angle onto your bird design, as shown below. Make a clip right up to the corner of the right angle. Trim paper to form tabs (approx. 1/4" from drawn line). Fold tabs back along drawn lines and glue to the corner of a box.

Once you're done, you can either use the stand on your picture frame or mount it on the wall :)


No comments:
Post a Comment