Hey there...trying to make the most of my time at home...just came up with a new design for Boy's Day (May 5th!!). Click here for a link to our new products, which include Onesies, Children's T-shirts and Hoodies, Postcards and Cards and Stickers!! **Design comes with or without "Happy Boy's Day!" wording**
Showing posts with label Boy's Day. Show all posts
Monday, March 30, 2020
Tuesday, April 25, 2017
Boy's Day!!
Boy's Day is coming up fast on May 5th...
All stamps are from our cling set, "Boy's Day" (CL-12)
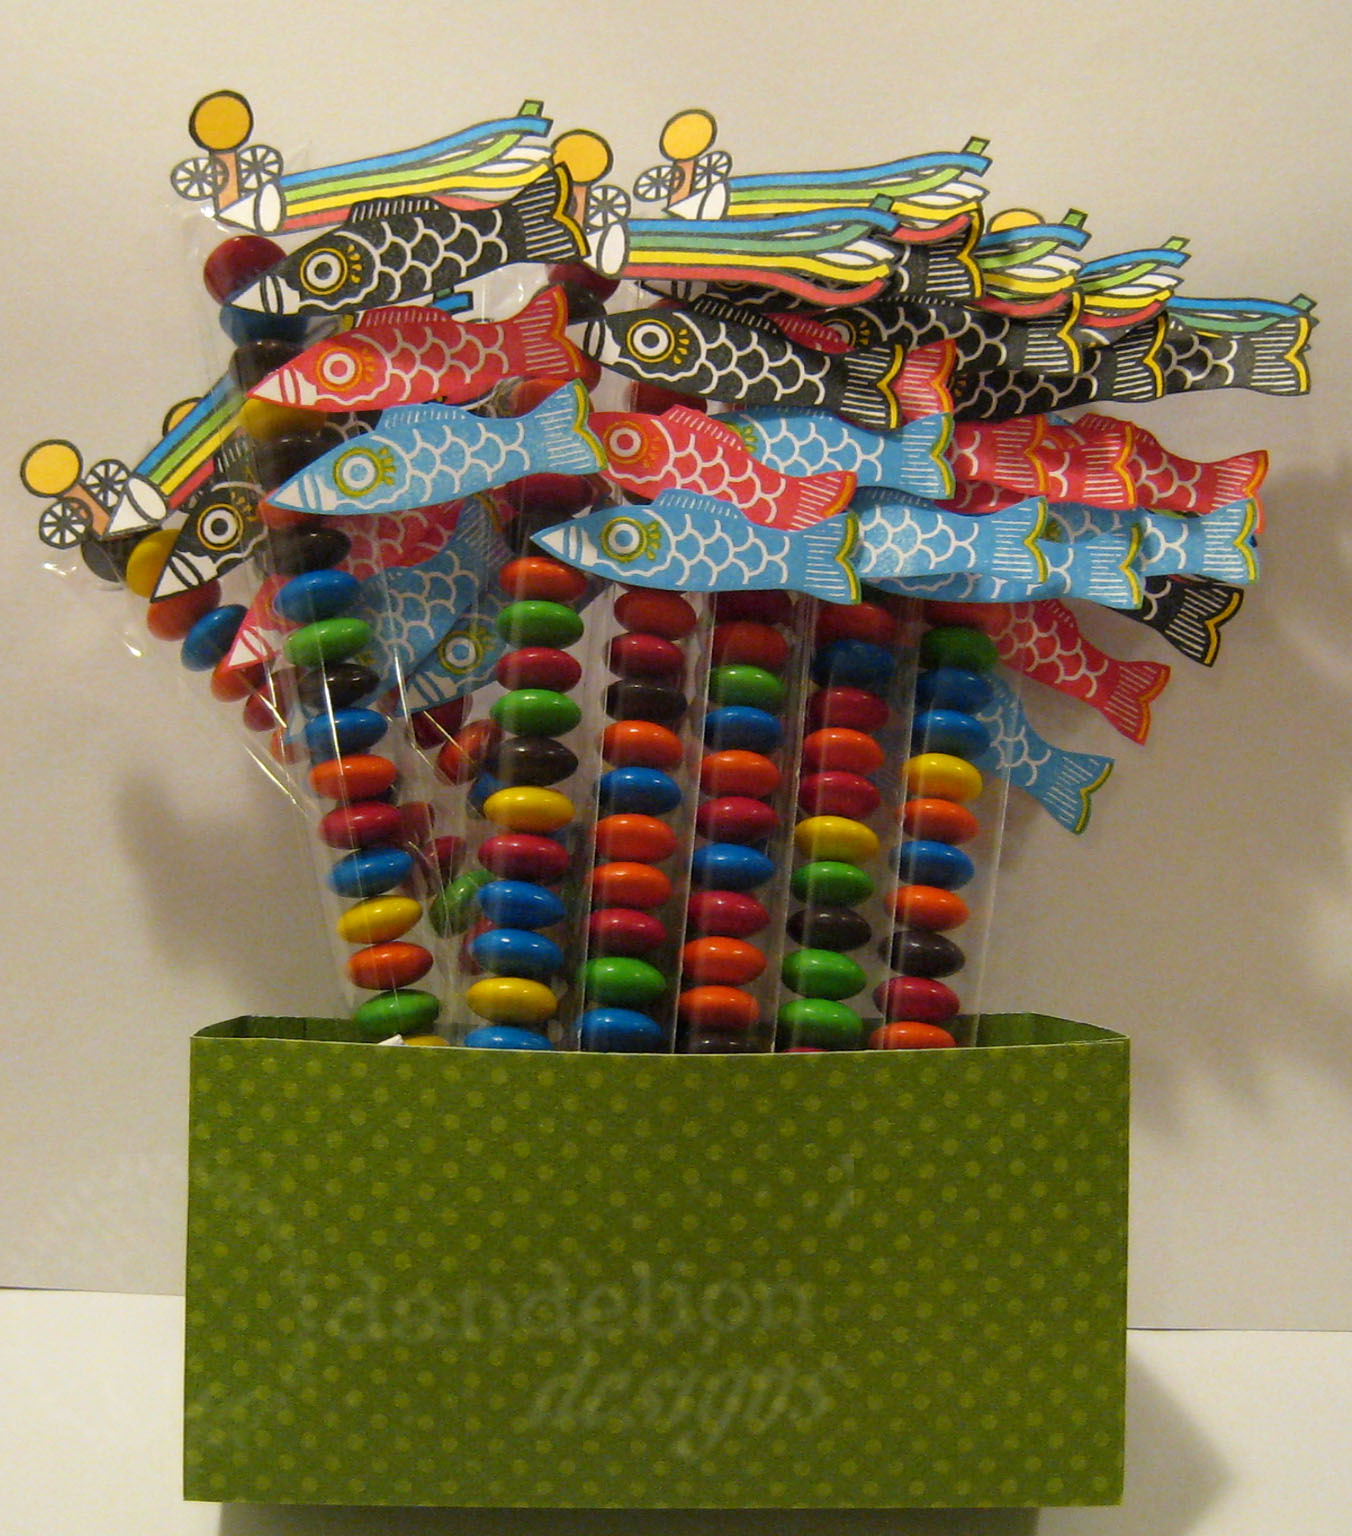
Sorry for the bad picture, but I'll try my best to explain. I used a 6" x 6" piece of origami...but any printed paper will do. Apply 1/4" double stick tape along the entire length of one side. Fold two sides toward the center (overlapping by 3/8") to form the center back. Make creases along both side edges. Open the paper up and apply double stick tape to the top and bottom edges, between the 2 creases. Tape the long sides closed...then tape the bottom edge closed. Add your treats, then tape the top edge closed. Use a paper crimper on top and bottom edges.
Monday, April 28, 2014
Boy's Day Box
If you haven't decided what to do for Boy's Day...I hope this treat box helps!! This has been a go-to pattern for me recently. Click here to get the pattern and instructions.
I made a few adjustments to give the kendama toy some movement. Before taping the front of the box to the side tabs, I punched a 1/16" hole at a point that would be covered by the tip of the kendama. I also stamped and cut out a kendama (from MC-45 - Kendama Set) with a little bit of twine tied around the handle. Next, I taped a penny to one end of a 4-1/2" piece of twine.
Put the penny end of the twine into the box...thread the other end of the twine through the punched hole (from the inside, out). Now finish taping the box together:
Tape the loose end of the twine to the back of the kendama ball and mount the ball onto the cover with double stick foam. (The penny will keep the end of the twine in the box when it is closed, yet it also allows you to open the cover:
To finish it off...mount the kendama on double stick foam and position it right above the punched hole.
Sunday, April 27, 2014
Boy's Day Lollipops!!
Boy's Day is just around the corner...I can't believe this week will already be May!!! If you're running a little behind (like me!!)...here's a quick treat:
Cut a 1/2" x 5" strip of card stock...wrap around lollipop and stamp our new mini koi stamp (#6036) 2 times...punch a 1/16" hole through both layers of paper (close to the stick)...thread twine through both holes and around the stick and tie into a bow. I also added a Happy Boy's Day sentiment from MC-45 (Kendama).
You can also use it to wrap around a pencil or gift bag handle, or to close a cellophane gift bag!!!
Tuesday, April 15, 2014
New Kendama Cling Set!!
It's tougher (for me anyway) to make cute stamps for boys...so, when I saw these kendama toys popping up everywhere...I thought, why not? Of course, you can use it for any occasion...but just in case you want to use it for Boy's Day (May 5), I made a small "Happy Boy's Day" stamp...it fits perfectly into the larger of the kendama balls.
Here's a really simple card:
Just cut a 4" x 7-1/2" piece of card stock...score at 2" and 4" from the left side and fold as shown below:
I used a piece of baker's twine to connect the ball to the toy...then made some crazy loops (gluing it down in a couple of key points to keep the "loopy" shape).
With a little practice, you can get the words pretty much in the center of the ball:
I also came out with a bunch of new mini wood stamps...I'll be back soon to share those with you!!
Sunday, April 6, 2014
Boy's Day is Coming!!
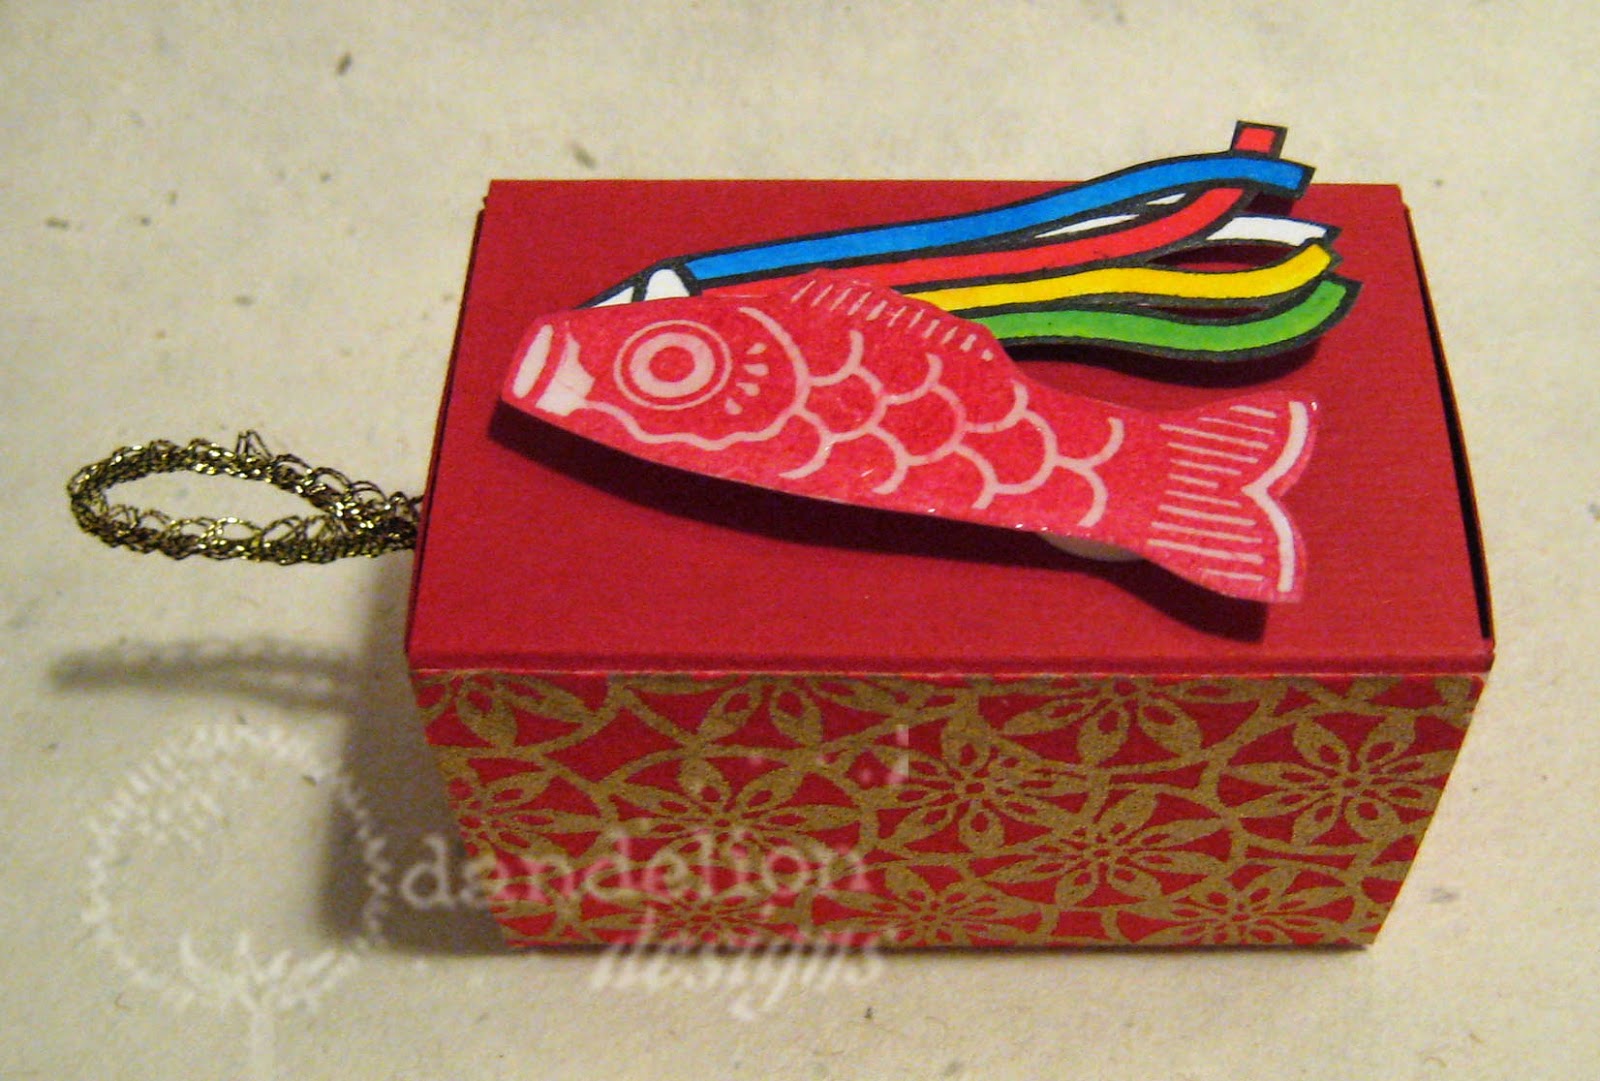
Using a couple of stamps from CL-12 (Boy's Day) and a box pattern found here...came up with these tiny favor boxes for Boy's Day:
Just big enough to hold a few treats:
Tuesday, February 19, 2013
Cupcakes!!
One more idea using cling set CL-15 (Kokeshi)...cupcakes!!
![]() |
Click here for a pattern. Simply cut 2 pattern pieces out of contrasting papers. Glue the belt onto the main piece, matching the bottom edge. Then simply wrap around a cupcake and secure the end with double stick tape (you might want to put a couple of pieces of tape to hold it securely). Mount faces on a toothpick and add a ribbon...that's it!!
Friday, January 25, 2013
Saturday, January 19, 2013
New!!
Happy Saturday!!! Here's our latest stamp set called Kokeshi!! Perfect for Girl's Day (March 3) and Boy's Day (May 5)...Fun, fast and easy!!
And this is the pattern that comes with the set:
Perfect little treat box!! Fill it with candies, money or small gifts (fits a small hand sanitizer bottle!!)
Add an action wobble behind the head to make it move!!!
I'll be back soon with more ideas for this new set!!!
Monday, April 9, 2012
Friday, March 30, 2012
New Stamps!!
Hi there!!! Sorry for the long absence...usually when I disappear for a stretch, that means that new stamps are in the works and this time is no exception. Here are the latest additions to our Dandelion gang:

Pull the cord and the boy's day carp are raised:

The pattern and instructions to make this card are included in our new Boy's Day cling set (CL-12 Boy's Day):

Also new are graduation stamps...yes, that time is coming up fast!! Here's a traditional set (MC-20 Graduation):

...and here's one with a local flair (MC-21 Celebration):

Both of these sets are designed to be used with our cling stamp characters...I'll be back soon to show you samples of how these stamps can be used. Before I go...I've been meaning to share some cards that are sure to give you inspiration!! First up is a card from Shannon...she claims to be a beginner, but it sure doesn't look like it...here is her adorable card:

So cuuuute!!! Also wanted to share a couple of other cards using Dandelion stamps...click here to see some amazing Easter creations by Patti...scroll through her blog a bit because she's been a busy crafting lady!!! And click here to see what Cheryl (Life is Sweet) has been up to...you'll laugh when you see this one. Scroll down her blog too...she has a lot of cute projects!! ok...hope that helps to get some of your creative juices flowing...have a fun weekend!!!

Pull the cord and the boy's day carp are raised:

The pattern and instructions to make this card are included in our new Boy's Day cling set (CL-12 Boy's Day):

Also new are graduation stamps...yes, that time is coming up fast!! Here's a traditional set (MC-20 Graduation):

...and here's one with a local flair (MC-21 Celebration):

Both of these sets are designed to be used with our cling stamp characters...I'll be back soon to show you samples of how these stamps can be used. Before I go...I've been meaning to share some cards that are sure to give you inspiration!! First up is a card from Shannon...she claims to be a beginner, but it sure doesn't look like it...here is her adorable card:

So cuuuute!!! Also wanted to share a couple of other cards using Dandelion stamps...click here to see some amazing Easter creations by Patti...scroll through her blog a bit because she's been a busy crafting lady!!! And click here to see what Cheryl (Life is Sweet) has been up to...you'll laugh when you see this one. Scroll down her blog too...she has a lot of cute projects!! ok...hope that helps to get some of your creative juices flowing...have a fun weekend!!!
Sunday, May 2, 2010
Video Cards
For today's project, there are no actual videos involved...it just looks like a VHS tape!! This idea came almost by accident...I was just trying to think of a way to present the gift/card inside (wouldn't it be cute to put a special message on the side of the "tape"?):

To get a pattern to make this VHS box, click here. **(Just a little extra note: This pattern came out very close to the edge of the paper...when you're printing this pattern out, make sure you select "No Scaling" or your printer may automatically shrink the pattern to fit the page.)** I also used a 1" hole punch to make that half circle in the box. For the card, I used a 6" x 7-3/4" piece of cardstock (scored at 3-1/2" and 4-1/4"). Decorate the outside of the card with your sentiment (this one is for Boy's Day):


For the inside, I used three 2" x 3" cellophane bags (I got mine at Ben Franklin)...and filled them with goodies. I attached each bag with a couple of glue dots on the back.

Here's one for Mother's Day:


Fill your bags up with whatever tiny treasures you want:

That's it for now...Have a great week everyone!!!

To get a pattern to make this VHS box, click here. **(Just a little extra note: This pattern came out very close to the edge of the paper...when you're printing this pattern out, make sure you select "No Scaling" or your printer may automatically shrink the pattern to fit the page.)** I also used a 1" hole punch to make that half circle in the box. For the card, I used a 6" x 7-3/4" piece of cardstock (scored at 3-1/2" and 4-1/4"). Decorate the outside of the card with your sentiment (this one is for Boy's Day):


For the inside, I used three 2" x 3" cellophane bags (I got mine at Ben Franklin)...and filled them with goodies. I attached each bag with a couple of glue dots on the back.

Here's one for Mother's Day:


Fill your bags up with whatever tiny treasures you want:

That's it for now...Have a great week everyone!!!
Subscribe to:
Posts (Atom)