Wednesday, October 20, 2010

As Simple As It Gets

For those of you who need to make a bunch of Halloween goodies for next week, and haven't started yet (I know you're out there!!)...here's a super simple, fast and easy project (Why does the right lollipop look deflated? lol):


I cut two 6" x 6" pieces of tissue paper and stamped #A151 (Pumpkin Face):


Then just wrap it around a Tootsie Roll lollipop and you're done!! Can't get any simpler than that...you can even let the kids get involved with making them for classmates!!


Have fun!!!

Sunday, October 17, 2010

Holiday Clear Totes

Earlier in the year I posted a pattern for a clear tote bag, and I thought I'd give it another try with a holiday spin to it:


This time, I used a wired garland for the handles instead of ribbon...much more festive!!! This tote holds 2 chocolate dipped shortbread cookies.


To make this tote (above) more Christmas-y, I added stamp #931 (Santa's Hat) to stamp #A137 (Buddy With Cookies)...along with the word stamp #A130 (Cookies Make the Holidays Happy). For the tote below I used stamp #B134 (Christmas Cookies):


Can't forget Halloween (it's only 2 weeks away, you know!!!):


This tote uses stamp #A150 (Ghost and Pumpkin). Instead of handles, I decided to close this bag with a flap. I folded in the sides of the bag (like a brown paper bag)...then stapled it shut. I stamped #B108 (Halloween Scroll) on a 2" x 2" piece of cardstock...cut the edge around the stamped image and scored the piece to fold approximately in half...then I used double stick tape to attach to the bag. I hope the photo below makes it clearer:


Thanks for stopping by...hope you can find some time to craft today!!!

Tuesday, October 12, 2010

Trick or Treat

Happy Wednesday morning!! I've been trying to draw some new designs, but nothing has been working out quite right...don't you hate when you're trying to create and that happens?? Anyway...instead of getting frustrated, I thought I'd try to get my creative juices flowing with some stamping. I've been meaning to use my "Little Monster Pals" stamp for a Halloween project. Just by adding stamp #708 (Pumpkin Basket)...they've been turned into little trick-or-treating monsters!! I combined them with my trio of trick-or-treating word stamps to get this:


I used my 2 Marvy tag punches (pink and blue), with a foam dot in between for dimension. Here's a closer look at each panel:


The measurements for this card is 2-3/4" x 6-1/4"...score at 2", 4" and 4-1/4". Of course, you'll need something to put the card in...click here for a simple template for this "flapless envelope/box":


Fold up the card and it slips right in. I kept the outside decorations simple using stamp #701 (Pumpkin) and a place to address the "envelope". Then I got carried away and had to make one using some belated birthday stamps:


I used a Martha Stewart scallop border punch...if you punch out a border, make sure you punch it out first and then measure your card size to 2-3/4" x 8-1/4". Score at 2", 4", 4-1/4" and 6-1/4". Here's a closer look:


With that extra 4th panel, you'll need a little wider box...click here for a template.


ok...it's back to the drawing board for me...wish me luck!!!

Sunday, October 10, 2010

Spider Web Card

Well...I just couldn't seem to get a good picture of this card...but, believe me...it looks better in person...more sparkly!! Anyway, here it is:


I also made it into a tag:


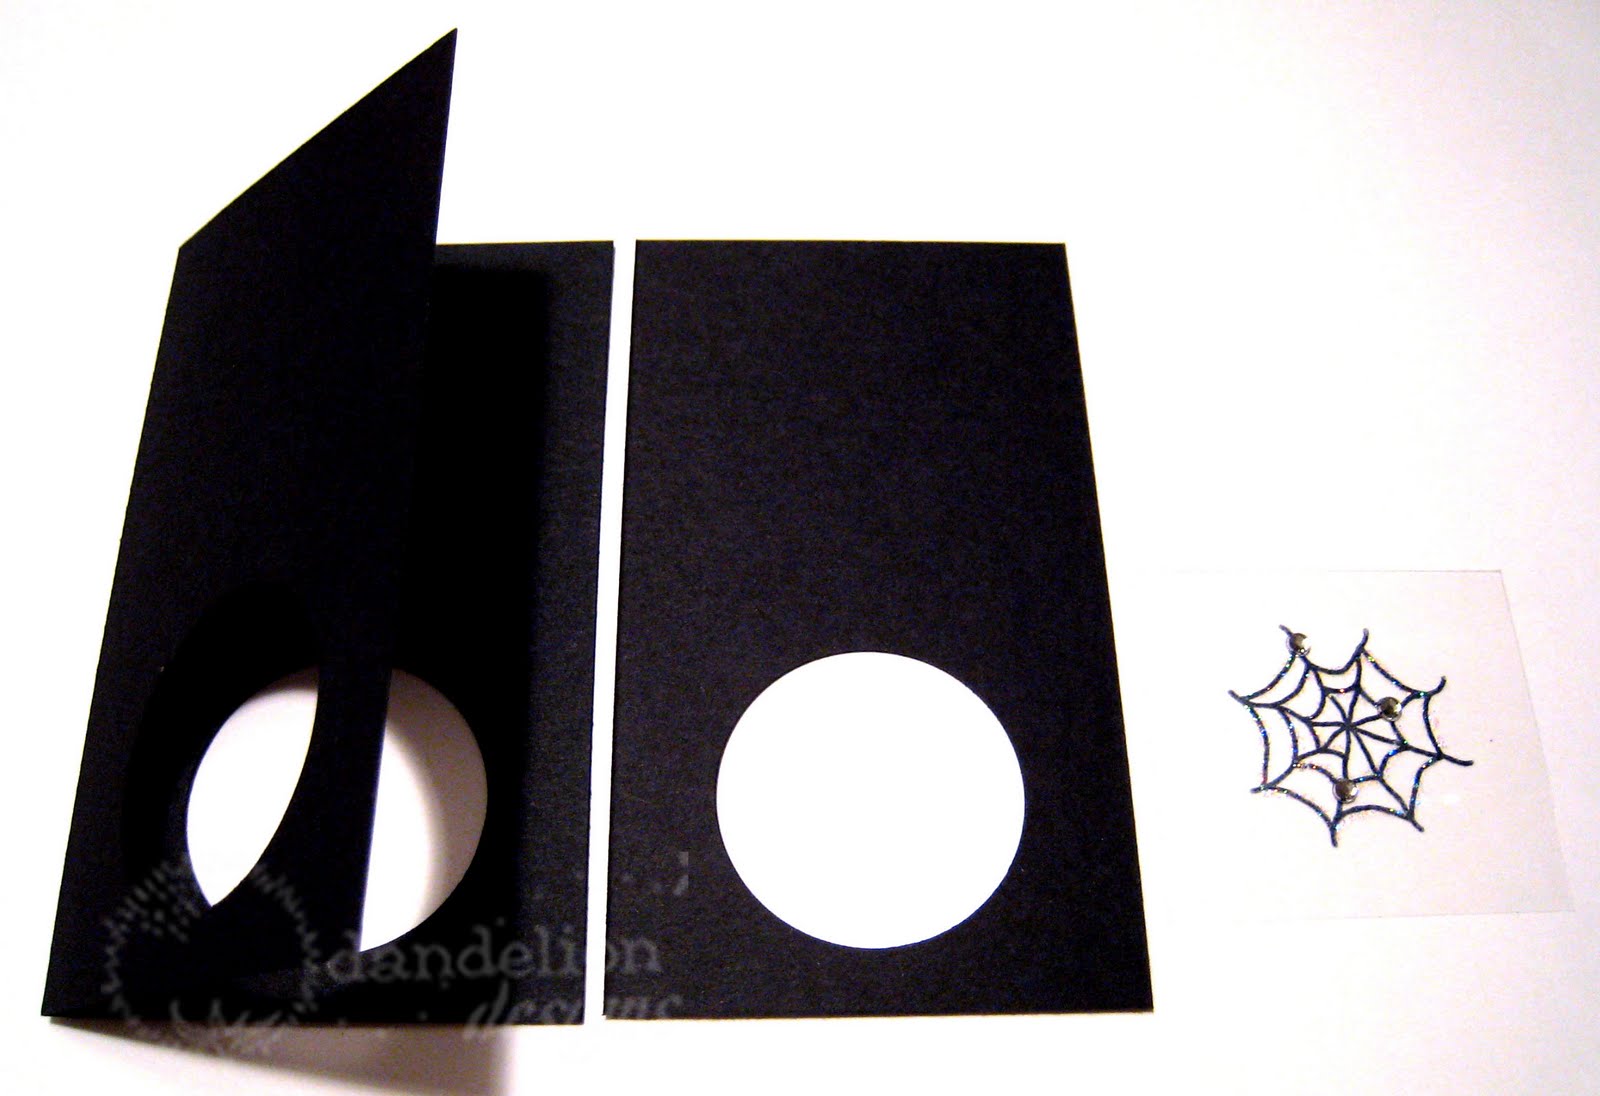
To make this card or tag...start with a 5" x 4" piece of cardstock. Fold in half for a finished size of 2-1/2" x 4". Use a 1-1/2" circle punch to punch a circle through both layers (below, left). To make a card, you'll need an extra piece (below, right) of 2-1/2" x 4" cardstock (punch a 1-1/2" circle through this piece also). Stamp #A109 (Spider Web) on a 1-3/4" x 1-3/4" piece of acetate (using Staz-On ink). Add glitter glue and some bling to the web!!!


Apply double stick tape like this:


Remove the paper backing from the double stick tape...center the spider web in the punched circle and adhere. For the tag...fold in half and seal the two halves together...punch a hole and thread a ribbon. For the card...center the spider web in the punched circle...then seal with the extra piece of cardstock you cut earlier. Here's a close-up of the web:


I also used stamp #710 (Happy Halloween) and embossed it with a sparkly silver embossing powder. Thanks for stopping by!!!

Saturday, October 9, 2010

M&M Containers

ok...I really cannot resist cute little things like this:


I found these containers at Ben Franklin, and by the tag I can see that they are some kind of jewelry case...to hold beads or something (I really don't want to know right now because it looks like I could get carried away with another craft, if you know what I mean!!). Anyway, they look exactly like the mini M&M containers. Time to get to work decorating these guys:


Can't forget to decorate the tops:


The glittery black paper (love it!!) and Martha Stewart spider web punch are from J's Knicknacks. To make the web for the top of the container (shown below)...I cut a strip of 1" paper and punched both edges of the paper, trying to match the 2 halves of the web (looks pretty good, even if I didn't match the two sides exactly).


And how about making some for baby showers or announcements:


Hope you're enjoying your long holiday weekend!!

Thursday, October 7, 2010

Hoot! Hoot!

I was playing with some sponging today to make this quick Halloween card:


All I did was make a template by punching out a 2" circle out of a scrap of paper...


First, take the piece with the circle punched out and place it over your card where you want the moon to be. Use a sponge dauber to apply color (I just used my ink pads)...I used yellow and orange for the moon:


Remove the template to reveal the moon:


Now, take the circle you punched out and place it over the moon as a mask...I sponged the rest of the card with black and purple:


Remove the mask to reveal a spooooky Halloween sky:


I finished off the card with stamps #710 (Happy Halloween), #A148 (What a Hoot) and #B149 (Spooky Branch). Short and sweet post today...have a good day!!!

Monday, October 4, 2010

Forgot About These...

Happy October!!! Last month while I was doing some giveaways, I made this little box for the winner of the 3 holiday face stamps...it fits 3 of our Dandelion "A" size stamps perfectly. I took a picture of it and then forgot about it in my camera:


Click here for a simple pattern. Cut along the solid lines and fold along the dotted lines. Use double stick tape on the 4 tabs. Wrap the cover piece around the assembled box and secure ends with double stick tape. Here's what the stamps look like in the box:


As it turns out...it's also the perfect size for 3 Ferrero Rocher candies...I love these because they already come with their own little paper cups!!!


Also, I got an extra surprise in the mail...it's from Brenda (Sweet as a Gumdrop)...Thanks, Brenda...these sure are sweet!!! Be sure to stop by and see all the adorable creations Brenda has on her blog!!!


I'm working on more Halloween ideas...hope to post them soon!!!

Thursday, September 16, 2010

Make Your Own Pen

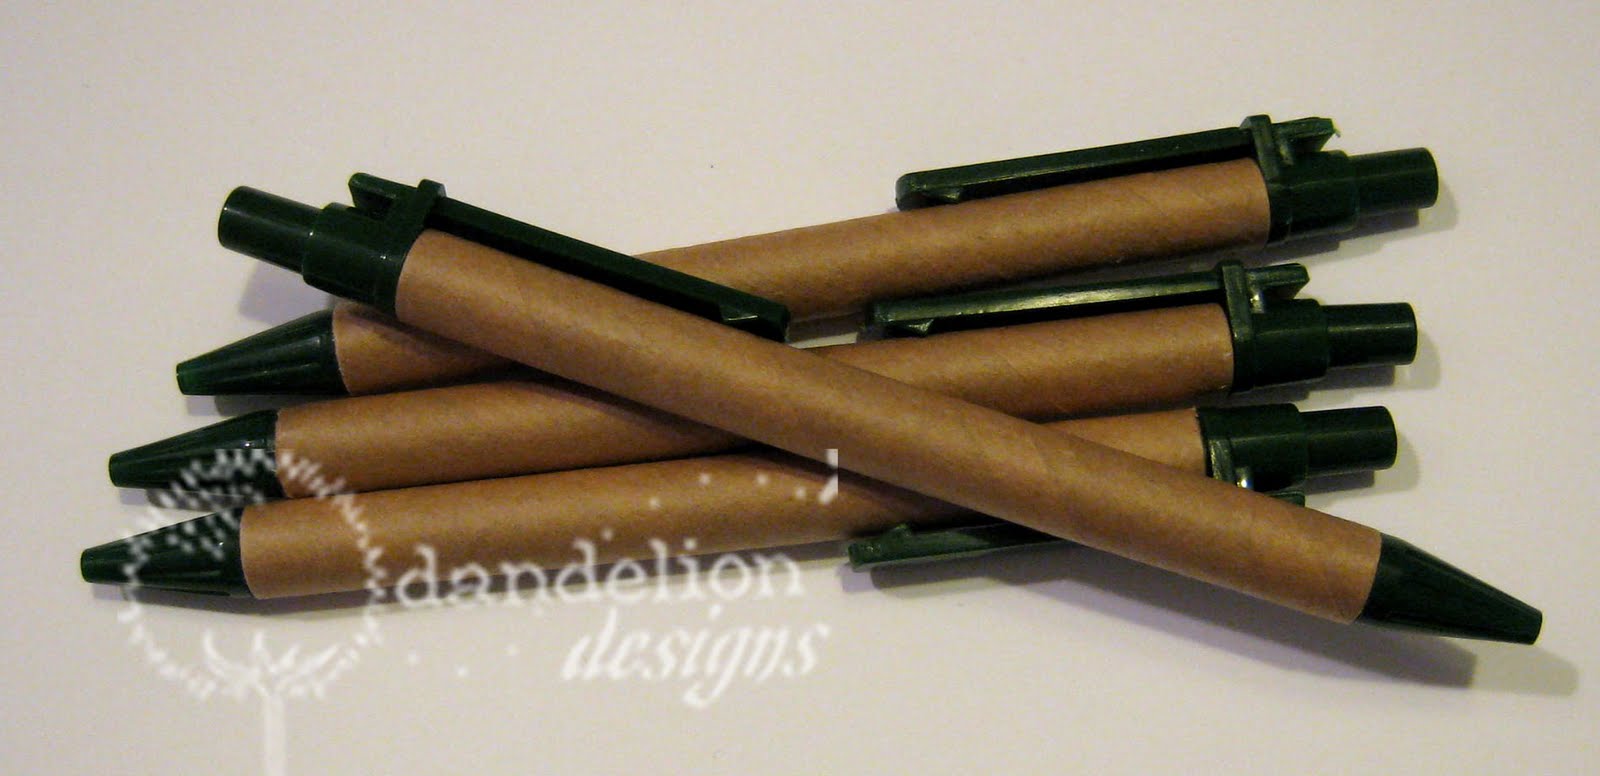
Found these cool pens at Ben Franklin (they're only 49 cents!!). It's a plain brown cardboard pen that you can use plain OR decorate...and we stampers like to decorate whatever we can get our hands on, right?


Here's what they looked like when I bought them:


I stamped them first with a snowflake background (Stamp #A113) using white Staz-On ink...I inked the stamp and placed it rubber-side-up (as shown below)...then just rolled the pen over the stamp:


Next I stamped, colored and cut out my designs (stamp #934 - Mini Max and stamp #925 - Holly)...glued them to the pen...added glitter glue to the center of each snowflake and finished it off with a coat of Mod Podge and a ribbon:


Perfect little gifts for Christmas!!

Friday, September 10, 2010

Our Final Winner

Congratulations go to jazzo (love that name!!)...our final winner for this series of stamps!!! jazzo, email your address to me and I'll get the stamps and the travel mug out to you!! Thank you to all who entered and for all the wonderful suggestions for new stamp designs...you've given me a lot of inspiration as I go back to the drawing board!!!

One quick project for today:


This project all started with one stamp...it's actually called "Funky Snowflake" and I released it last year as part of my Christmas line. I just got to thinking that it would make a cute flower center...give it a nice 3-D effect. I stamped it, cut it out and punched a 1/16" hole in the center. I also punched out a flower using a Marvy (yellow) punch, then also punched a 1/16" hole in the center. I attached the 2 pieces with a flower brad:


It reminded me of a cherry blossom, so I stamped some kokeshi dolls...and then came up with this pattern to put it all together.


(I put a Girl's Day label on this in case you want to come back to this project in March). Thanks for stopping by and have a great weekend!!!