Thursday, September 16, 2010

Make Your Own Pen

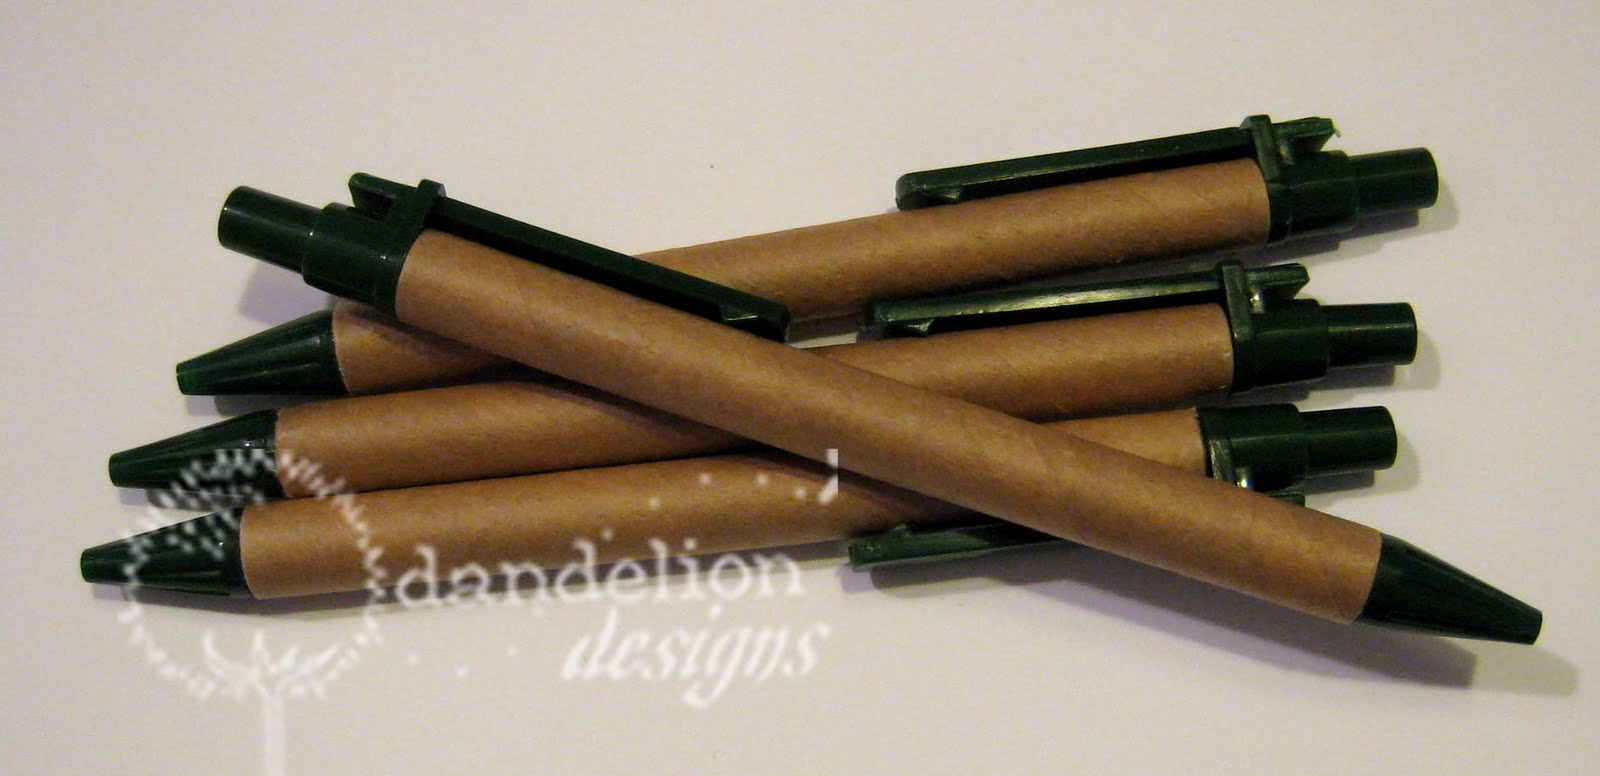
Found these cool pens at Ben Franklin (they're only 49 cents!!). It's a plain brown cardboard pen that you can use plain OR decorate...and we stampers like to decorate whatever we can get our hands on, right?


Here's what they looked like when I bought them:


I stamped them first with a snowflake background (Stamp #A113) using white Staz-On ink...I inked the stamp and placed it rubber-side-up (as shown below)...then just rolled the pen over the stamp:


Next I stamped, colored and cut out my designs (stamp #934 - Mini Max and stamp #925 - Holly)...glued them to the pen...added glitter glue to the center of each snowflake and finished it off with a coat of Mod Podge and a ribbon:


Perfect little gifts for Christmas!!

Friday, September 10, 2010

Our Final Winner

Congratulations go to jazzo (love that name!!)...our final winner for this series of stamps!!! jazzo, email your address to me and I'll get the stamps and the travel mug out to you!! Thank you to all who entered and for all the wonderful suggestions for new stamp designs...you've given me a lot of inspiration as I go back to the drawing board!!!

One quick project for today:


This project all started with one stamp...it's actually called "Funky Snowflake" and I released it last year as part of my Christmas line. I just got to thinking that it would make a cute flower center...give it a nice 3-D effect. I stamped it, cut it out and punched a 1/16" hole in the center. I also punched out a flower using a Marvy (yellow) punch, then also punched a 1/16" hole in the center. I attached the 2 pieces with a flower brad:


It reminded me of a cherry blossom, so I stamped some kokeshi dolls...and then came up with this pattern to put it all together.


(I put a Girl's Day label on this in case you want to come back to this project in March). Thanks for stopping by and have a great weekend!!!

Wednesday, September 8, 2010

Our Final Giveaway

Well...we've finally reached the end of this round of new designs. Thank you to all of you who've stopped by to take a look...I've had a lot of fun sharing my new designs with you!!! Before I show you the last few designs, I'd like to announce that CASSIE is the winner of our "little monster" giveaway!! Email me your address, Cassie...and I'll mail your stamps out to you!!!

This post is a mish mash of stamps and ideas...I'll start with a photo mug I got at Starbucks. Instead of photos, I used stamps:


This stamp features our panda, Ping and is called "Wrapped With Love". I paper pieced the gift box with a snowflake paper...what I like about this stamp is that by changing the paper or ink color, you can use it for different occasions (not just Christmas):


I'll take you on another side trip (I told you this post was a mish mash). See the little "to, from"? That's a stamp that you can also use with my Christmas tree stamp:


ok...now back to the coffee mug!! I made a few different inserts that you can interchange for the different seasons...you just unscrew the bottom and slip your decorated paper in. It's a tight squeeze (especially if you use a couple of layered pieces like me)...but once you get it in there, it's pretty darn cute!!


Here's a better view of the 3 inserts (without the glare of the plastic):


And now for a couple of cards:


Our giveaway for today:


To enter the drawing to win these stamps, leave me a comment by midnight (Hawaii time) on Thursday, September 9...tell me what kind of stamps you'd like to see more of. I'll pick one winner at random and announce their name on Friday, September 10. Oh yeah...I'll throw in the coffee mug too!!! Good luck!!

Sunday, September 5, 2010

Little Monsters

Before I introduce my "little monster" set of stamps, I wanted to announce that BRENDA is the winner of our last giveaway!!! ok, Brenda...email your address to me and I'll get the stamps to you!!! Congratulations!!!

Now for the project of the day...I used my new Little Monster stamp to decorate a gift bag:


To attach a handle, punch a 1/8" hole through the side of the bag and a paper flower...glue the flower onto the bag (matching up the holes)...Slip a piece of ribbon through both holes and tie a knot to hold it in place:


And here's a card:


And now for today's giveaway:


To win these stamps, leave me a comment by midnight (Hawaii time) on Tuesday, September 7...I'll pick one winner at random and I'll announce their name on Wednesday, September 8. Sorry for such a short post tonight...I finished this project just in the nick of time!! Phew!! Have a good night!!

Thursday, September 2, 2010

Another Candy Bar Box

Hello!! I always take a lot longer to finish up a project than I think I will...but, I finally finished my project for today...and here it is:


It's a candy bar box...I don't know if you can see the pink brad in the upper right had corner...but, that allows the cover to lift off like this:


Did you notice that I used my new peppermint stamp to replace the wheels on the wagon? Makes it look more Christmas-y!!

Here's one more:


Click here for a pattern. Cut along the solid lines and fold along the dotted lines. Punch holes (as indicated on the pattern) with a 1/8" hole punch.


Here's a view from the side, with the cover fit over the base:


Lift the cover into the position shown below to attach the brads (one in front and one in the back).


Then, just slip your candy bar in and decorate!!! And now for the giveaway:


To enter the giveaway...leave me a comment by midnight (Hawaii time) on Saturday, September 4...I'll pick one winner at random and announce their name on Sunday, September 5. Good luck!!!

Wednesday, September 1, 2010

Jenny V...

you're the winner of our latest giveaway!!! Congratulations, Jenny!!! Email your address to me and I'll get your stamps out to you!!! Thank you to everyone who left a comment...I loved reading all your suggestions for a name for my new dog stamp!!! I decided to go with Judy jhj24's suggestion of "Little Rascal"...soooo, Judy, I'll send you a "Little Rascal" stamp....email me your address, please!! (Sometimes it pays to answer my silly questions!!! :)

I'll be back tomorrow with another project...have a great night!!!

Monday, August 30, 2010

Easy Peasy Packaging

ETA: oops!! How could I forget to announce the winner of our last giveaway?....It's Saskia!!! Email me your address, Saskia...and I'll get your stamps to you!!!!

Ready for more new designs? Today's project features my Fuzzy Dog with a Wreath stamp (we really should come up with a name for him!!) . And the project is a really simple and fast gift wrap. I don't know how many times I've frantically searched for a box to wrap last minute gift (I KNOW I have one somewhere in this closet?!?!) When I can't find one, I usually improvise with something like this (actually, this first one is a gift card...I'll show you a gift wrap for a small gift later in this post):


To start, I cut a 4" x 7" piece of card stock...I placed my gift card a little lower than center and put a little mark just above and just below the card. I ran the paper through a crimper from each mark toward the edge of the paper(just a little bit)...it should look like the picture below:


This crimped section will act as the "hinge" for the wrap. Next, apply double stick tape to all 4 sides of center area:


Cut 2 pieces of tissue to 5-1/2" x 5-1/2"...attach as shown in the following pictures:


Wrap the gift card in one layer of tissue:


And then the other...hold it closed with a stamped seal:


Then I just wrapped a strip of paper around the whole thing to keep it shut. Now, here's the gift:


I don't know if you can tell...but, this holds a 6 month onesie, and the paper is cut to 5" x 12". Follow the same instructions as for the gift card (this time I'm holding it closed with a ribbon).


This stamp, "Expecting" was inspired by Yuki who's expecting her second baby in October...Congratulations and hang in there, Yuki!!!

Here are the stamps I'm giving away today:


Leave me a comment by midnight (Hawaii time) on Tuesday, August 31...give me some ideas of what to name my new fuzzy dog!!! I'll pick one winner at random and announce their name on Wednesday, September 1. Good luck!!!

Saturday, August 28, 2010

Easel Box

Hi!! I'm back with my next project!! I love the easel cards I've been seeing around...thought I'd give it a try as a box. Click here for the pattern. Cut along the solid lines and fold along the dotted lines. Apply double stick tape on the 4 tabs. Below is a picture of the box closed (tied shut with a ribbon):


And here's a picture of the box opened:


This side view shows how the easel part works:


Of course, I had to do one for the holidays:


If you look closely, you can see where I've been having fun with Flower Soft (to make the stocking look fluffy). I wonder if it comes in brown...that might work well on the bear!!


I can imagine handing these out at the office for your co-workers to keep on their desks!!! Are you starting to get your holiday mojo? This next card is a little departure from the easel boxes, but I threw it in today because I was playing around with my "chick" stamps and wanted to share it. The only new stamps are the chick carrying the candy cane and the "Friend for all seasons" stamp...the rest are from previous releases. When I was designing my holiday line, I noticed that I had a chick stamp for every season but winter. Then I thought..."friend for all seasons" and knew I had to do a winter chick!! Here's the card:


Here's the giveaway for today (I know the 3 chick stamps are not new...but, how could I break up the set???):


To win these stamps, leave me a comment by midnight (Hawaii time) on Sunday, August 29...tell me a little about your "friend for all seasons". I'll pick one winner at random and announce their name on Monday, August 30.

Friday, August 27, 2010

Joy, You're the Winner!!!

Congratulations, Joy!!! Email me your address and I'll get the 3 face stamps out to you!!! I'm working on another project...but, I'm not sure if I can finish by today...we'll see how that goes!!

By the way...did you notice I'm on Facebook now? Please be patient while I learn the ropes...but, if you become a fan by September 15, I'll do a special giveaway for one lucky winner. I'll post more details later on my page.

Have a great Aloha Friday!!!

Wednesday, August 25, 2010

Today's Winner is....

Debbie!!! Congratulations, Debbie!!! You know the routine...email your address to me and I'll send the stamps out to you!!! Debbie's comment said that she had ZERO stamps...WHA-T?? Well..I'm honored that Dandelion will be your first stamps, Debbie!!!

Now, on to today's project. From your comments, it seems like most of you are at least starting to think about the upcoming holidays. With that in mind...here are more ideas for the holidays:

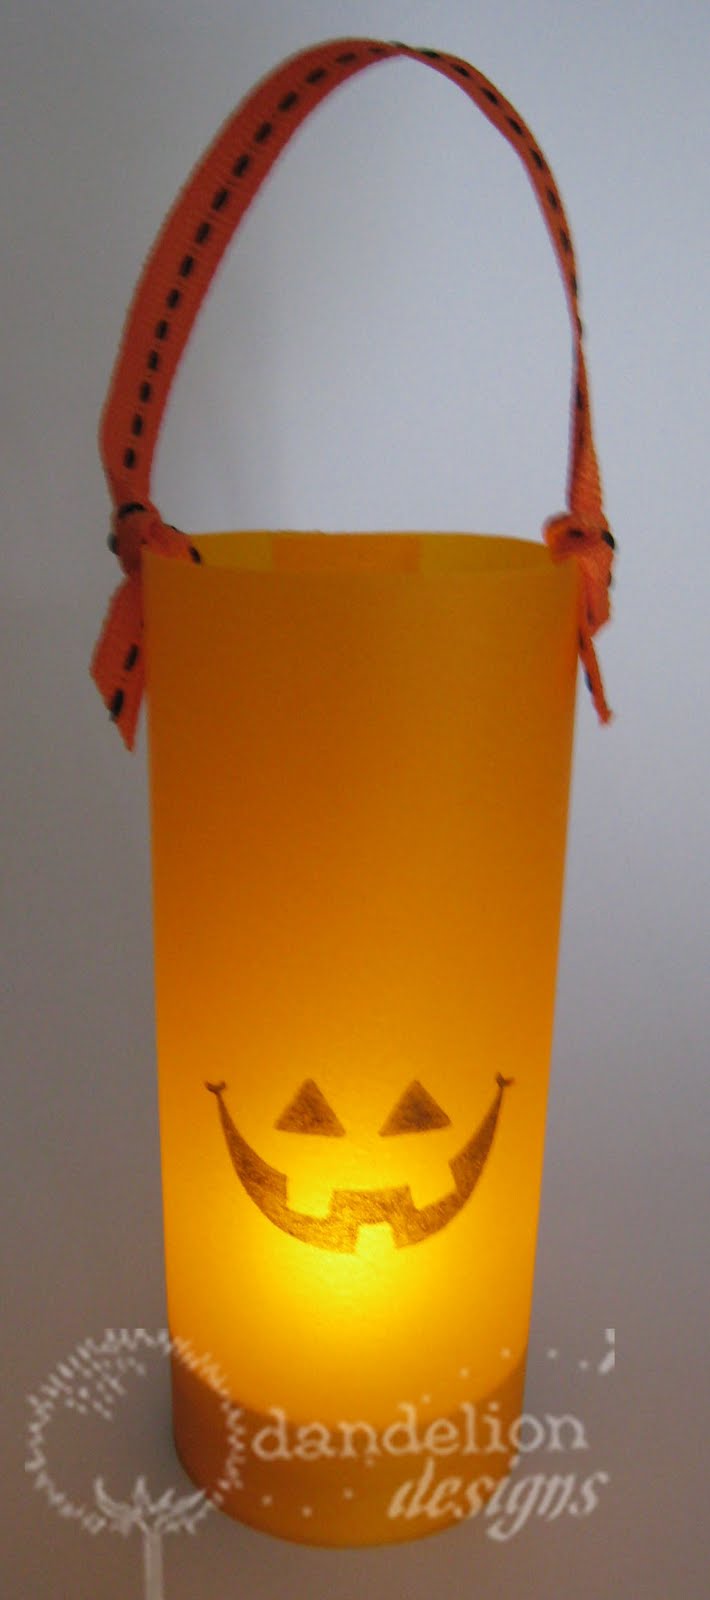
Oh...before I begin...let me share the inspiration behind this project. Everyday when I run my errands, I pass by a house that's surrounded by a fence. Just over the fence, I can catch a glimpse of the backyard with a big mango tree...from the tree, they have a bunch of paper lanterns hanging here and there, at different levels. I don't know why, but it always makes me feel happy to see that. Anyway, here's my attempt to re-create those lanterns using 3 of my new "face" stamps for the holidays:


Can you imagine a bunch of these hanging on your trees leading the trick-or-treaters up to your front door?


Or some of these decorating your home or Christmas tree?


Or some of these as a centerpiece for your Thanksgiving meal?


They're so easy and fast to make!! I picked up the battery-operated candles at Ben Franklin (put a strip of double stick tape around the base of the candle (as shown below):


Cut a piece of vellum (I'm on a vellum kick!!) to 4-3/4" x 3-1/2" (of course, you can change the second number to vary the height of your "lantern"). I don't know if you can see it, but there's also a piece of double stick tape down the length (left side in photo, above) of the backside of the paper. Simply wrap the vellum around the candle (PLEASE, don't use real candles!!) and tape the 2 edges together in the back.

A few extra notes: When working with vellum, I stamp with Staz-On permanent ink and color the image from the backside of the paper. For the turkey candle, I used a handmade mulberry paper instead of vellum. To get the torn appearance at the top of the candle...I simply wet the top edge of the paper (i just put a little line of water with my fingers)...then carefully tear off the edge.

Here's today's giveaway:


To enter the drawing for these stamps, leave me a comment by midnight (Hawaii time) on Thursday, August 26...tell me something that gives you inspiration when you're creating. I'll pick one winner at random and announce their name on Friday, August 27.

Before I go, I wanted to share some goodies I got in the mail from Carole:


Aren't they too cute? She's already used some of my new stamps!!! (I'll be using that Fuzzy Bear in an upcoming project). Can you believe that she created all 3 projects from one sheet of 12 x 12 paper?? Thanks for sharing your creativity, Carole!!!

Have a great Wednesday!!!