Stamps used: Owl stamp is from "Whooo Loves You" (CL-19 and word stamp is from "Never forget" (MC_59).
Saturday, June 17, 2017
Friday, June 16, 2017
Lollipop Balloons
Turn a lollipop into a balloon...quick and easy!!
Stamps used: Girl stamp is from "Aloha" (CL-17), Flower stamp is form "Never Forget (MC-59) and "Happy Birthday" stamp is a mini stamp #6045. Start with a 3" x 8-3/8" piece of card stock. Score at 3", 6" and 8". Insert the first fold into a hole puncher and punch out a small opening to insert lollipop stick.
Add double stick tape to the tab, a shown below:
Insert the lollipop stick and tape it down to the backside:
Fold into a triangular-shaped stand and secure with the double stick tape. Tie a cord onto the "balloon" and have stamped image "hold" the balloon.
Tuesday, June 13, 2017
Simple Wrapped Chocolates
All it takes is a 4-1/2" diameter doily....place your candy about an inch from the top of the doily, then fold the bottom of the doily up:
Next, fold both sides in and hold in place with double stick tape:
Finish it off by tying some twine around the candy and adding your stamped images. All stamps are from cling set, "Flower Girls" (CL-16)
Friday, June 9, 2017
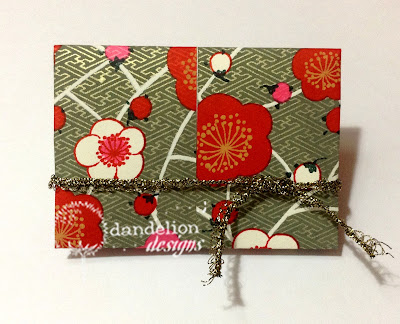
Origami Gift Card Holders
I learned how to make these cute origami gift card holders by looking at a few tutorials then I combined what I liked best into some simple instructions.
Start with a 7" x 10" piece of paper. Fold in half lengthwise and widthwise:
Next fold each edge to the center...widthwise:
and lengthwise:
Open the paper up and fold each corner to the first fold line, as shown below:
Fold each long edge to center line:
Flip paper over and fold both ends to the center. Cut a contrasting piece of paper measuring
3-3/8" x 4-7/8" and fold in half.
Place the insert into the gift card holder, as shown below:
To make a greeting...cut a piece measuring 2-1/4" x 3-1/4"
Thursday, June 1, 2017
Folded Envelope
I made this folded envelope to hold a gift of money...just the right size to fit a folded bill. Click here to get a pattern.
To see step-by-step how-to's...click here. The pattern in the link is slightly smaller than the one shown in this picture...I enlarged the pattern to fit a folded bill. Hmmm...maybe a gift for graduation?
Subscribe to:
Comments (Atom)


