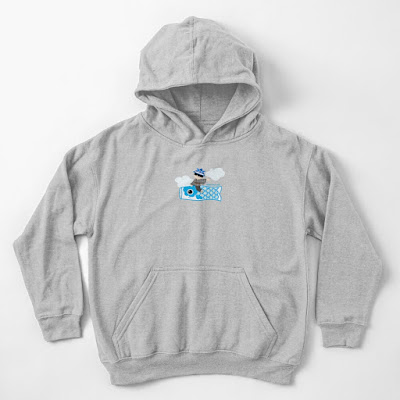
Hey there...trying to make the most of my time at home...just came up with a new design for Boy's Day (May 5th!!). Click here for a link to our new products, which include Onesies, Children's T-shirts and Hoodies, Postcards and Cards and Stickers!! **Design comes with or without "Happy Boy's Day!" wording**
Showing posts with label Baby. Show all posts
Showing posts with label Baby. Show all posts
Monday, March 30, 2020
Sunday, November 15, 2015
Thursday, June 18, 2015
Saturday, October 25, 2014
Mixing It Up
Combining our new stamp MC-54 (Year of the Sheep) with wording from MC-50 (It's a Girl) and stamp #5004 (Rosebud) to make a baby card:
Monday, September 1, 2014
Tuesday, August 26, 2014
Saturday, August 23, 2014
Saturday, February 16, 2013
More Chocolate Kokeshis
Hope you're all having a nice long weekend!! I was playing around with making more chocolate kokeshis (click here for original post)...and here they are:
Bride and Groom kokeshi...I used double stick tape to mount them on a 2-3/4" x 5" piece of card stock...then I stamped the words "Happily Ever After" and the rosebud (both stamps are from CL-14 (Roses) on a piece of vellum (the rose is stamped in black on front, and colored from behind)...then I just wrapped the vellum around the whole thing and taped it in the back. I was going to wrap it in a clear bag and throw some flowers and glitter in...but everything kept hiding behind the candy, so this is what I ended up doing:
It's hard to see with the glare...maybe this is a better angle:
I used a 5" x 6" bag with a seal. To start, I put the candies in the bag, on the left side (flap folds toward back to seal):
With the candy in this position, flip the bag over and upside down so the opening is now on the bottom. I used my Scor-Pal to make the cutting easier...just line the bag up in the upper right hand corner, then remove the candy:
I ran my scissors along the groove to keep my cutting straight. Make a cut along the 10" line...cutting through only one layer (the back side). Cut all the way to the fold, then cut 1" along the bottom edge (toward the corner of the Scor-Pal).
Lift the flap you've just created and run a piece of double stick tape at 1-1/4" from the right edge. Remove the backing from the tape and fold the flap back down to create the "pocket" for your glitter and flowers. Using regular scotch tape, tape over the cuts you made in the bag. Now slip you chocolates into the bag...and add flowers, glitter, ribbon on the other side and seal the top of the bag.
Here's an idea using a smaller sized chocolate for a baby. Follow the same directions from the original post except cut the card stock to1-1/2" x 3-3/4"...making your mark at 1/2" down from each side. The belt will be 1/2" x 3-1/4".
Click here to get a pattern for the little stand. Here's a view from the side:
Here's one for Girl's Day. The faces for these smaller chocolates are from CL-8 (Friends):
And one more:
ok...that's it!!!...hope you have some time to stamp this weekend!!!
Sunday, November 11, 2012
Sunday, July 22, 2012
Fun Size Treats
When you need a bunch of little treats...
Stamps used: #6012 (Just Because) and #6013 (Little Bouquet)
Simply cut a 4" x 5-1/2" piece of paper. On the backside of the paper, apply double stick tape down one side edge of the paper. Cut two 2" strips of double stick tape and center it...one on the top edge and one on the bottom edge. Wrap the paper around the candy...seal along center back.
Pinch down on both ends to close:
Use a paper crimper on both ends:
Here are some made up for a baby shower:

Stamps used: A119 (Rainy Days) and A161 (For Your Shower).
Thursday, June 23, 2011
Candy Sticks
I first released "Wrapped in Love" (stamp #C146) last year as part of my Christmas line...since then I've been meaning to do a project using this stamp in a non-Christmas way...now that it's almost July, I'm finally getting around to it!! Better late than never!!! I decided to use it as a baby announcement since I can't think of a better gift to receive than a new baby. I paired it up with some cute candy stick bags that I picked up at Ben Franklin:


Thanks for stopping by!!!


Thanks for stopping by!!!
Subscribe to:
Posts (Atom)


