Debbie!!! Congratulations, Debbie!!! You know the routine...email your address to me and I'll send the stamps out to you!!! Debbie's comment said that she had ZERO stamps...WHA-T?? Well..I'm honored that Dandelion will be your first stamps, Debbie!!!
Now, on to today's project. From your comments, it seems like most of you are at least starting to think about the upcoming holidays. With that in mind...here are more ideas for the holidays:
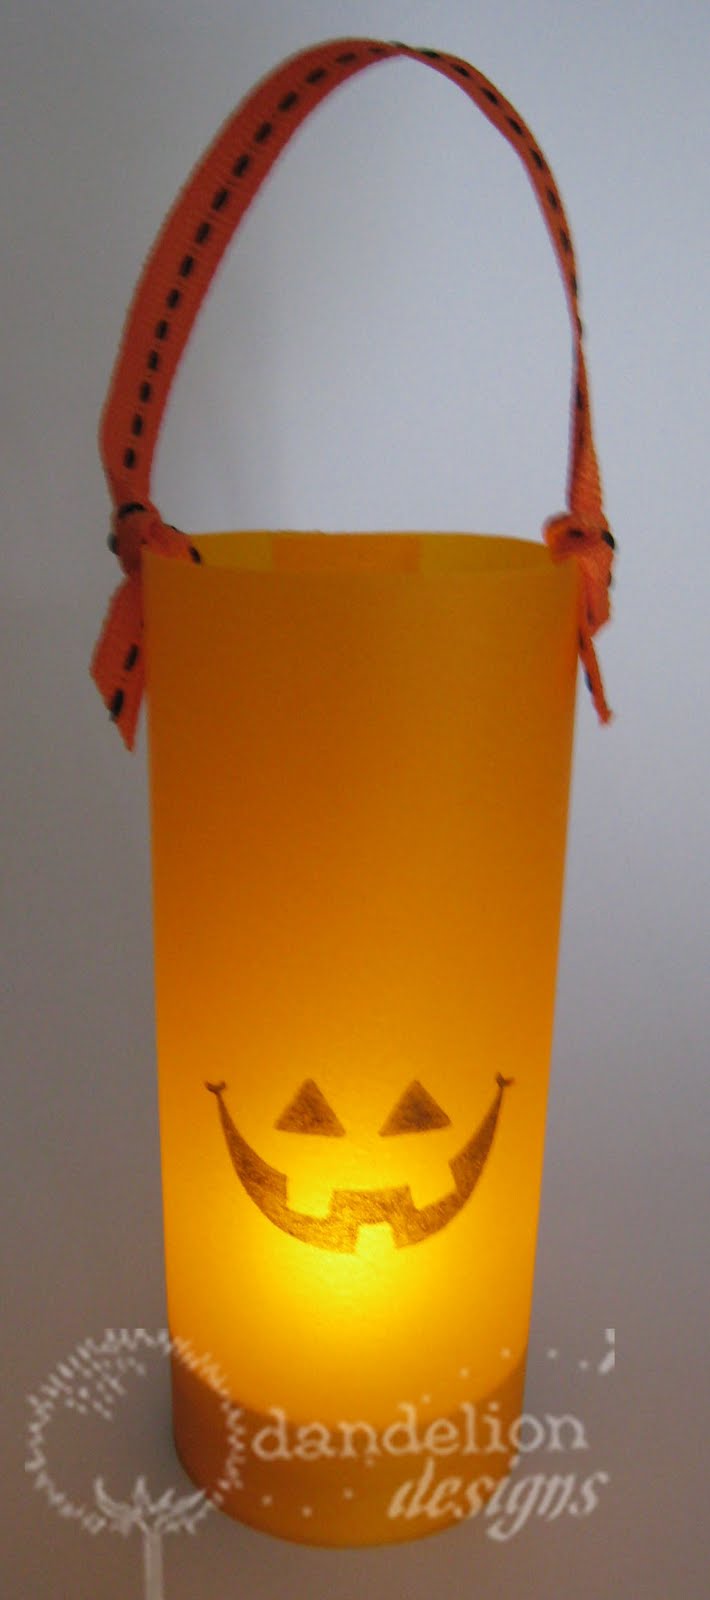
Oh...before I begin...let me share the inspiration behind this project. Everyday when I run my errands, I pass by a house that's surrounded by a fence. Just over the fence, I can catch a glimpse of the backyard with a big mango tree...from the tree, they have a bunch of paper lanterns hanging here and there, at different levels. I don't know why, but it always makes me feel happy to see that. Anyway, here's my attempt to re-create those lanterns using 3 of my new "face" stamps for the holidays:

Can you imagine a bunch of these hanging on your trees leading the trick-or-treaters up to your front door?

Or some of these decorating your home or Christmas tree?

Or some of these as a centerpiece for your Thanksgiving meal?

They're so easy and fast to make!! I picked up the battery-operated candles at Ben Franklin (put a strip of double stick tape around the base of the candle (as shown below):

Cut a piece of vellum (I'm on a vellum kick!!) to 4-3/4" x 3-1/2" (of course, you can change the second number to vary the height of your "lantern"). I don't know if you can see it, but there's also a piece of double stick tape down the length (left side in photo, above) of the backside of the paper. Simply wrap the vellum around the candle (PLEASE, don't use real candles!!) and tape the 2 edges together in the back.
A few extra notes: When working with vellum, I stamp with Staz-On permanent ink and color the image from the backside of the paper. For the turkey candle, I used a handmade mulberry paper instead of vellum. To get the torn appearance at the top of the candle...I simply wet the top edge of the paper (i just put a little line of water with my fingers)...then carefully tear off the edge.
Here's today's giveaway:

To enter the drawing for these stamps, leave me a comment by midnight (Hawaii time) on Thursday, August 26...tell me something that gives you inspiration when you're creating. I'll pick one winner at random and announce their name on Friday, August 27.
Before I go, I wanted to share some goodies I got in the mail from Carole:

Aren't they too cute? She's already used some of my new stamps!!! (I'll be using that Fuzzy Bear in an upcoming project). Can you believe that she created all 3 projects from one sheet of 12 x 12 paper?? Thanks for sharing your creativity, Carole!!!
Have a great Wednesday!!!


 Aren't they too cute? She's already used some of my new stamps!!! (I'll be using that Fuzzy Bear in an upcoming project). Can you believe that she created all 3 projects from one sheet of 12 x 12 paper?? Thanks for sharing your creativity, Carole!!!


