Sunday, September 24, 2017

Weekend Stamping

Worked on a couple projects over the weekend...hope you had some time for stamping fun too!!


To make circle fan...start with a 3/4" x 12" piece of paper.  Fan fold in 1/4" segments.  Add a  piece of double stick tape to one end.  Form into a circle and adhere two ends.  Flatten piece and hold together with a dab of hot glue in the center: 


Use a hot glue gun to adhere a toothpick to the back of the circle fan.  Punch out a 3/4" circle and cover back.  Mount stamped image to the front with double stick tape:


Here's a card made with one of our new stamps, "Thoughts & Prayers" (SC-17) and a girl stamp from our cling set, "Arigato" (CL-20):


Saturday, September 23, 2017

Saturday, June 17, 2017

Stamps used:  Owl stamp is from "Whooo Loves You" (CL-19 and word stamp is from "Never forget" (MC_59).

Friday, June 16, 2017

Lollipop Balloons


Turn a lollipop into a balloon...quick and easy!!


Stamps used:  Girl stamp is from "Aloha" (CL-17), Flower stamp is form "Never Forget (MC-59) and "Happy Birthday" stamp is a mini stamp #6045.  Start with a 3" x 8-3/8" piece of card stock.  Score at 3", 6" and 8".  Insert the first fold into a hole puncher and punch out a small opening to insert lollipop stick. 


Add double stick tape to the tab, a shown below:


Insert the lollipop stick and tape it down to the backside:


Fold into a triangular-shaped stand and secure with the double stick tape.  Tie a cord onto the "balloon" and have stamped image "hold" the balloon.


Tuesday, June 13, 2017

Simple Wrapped Chocolates


All it takes is a 4-1/2" diameter doily....place your candy about an inch from the top of the doily, then fold the bottom of the doily up: 


Next, fold both sides in and hold in place with double stick tape: 


 Finish it off by tying some twine around the candy and adding your stamped images.  All stamps are from cling set, "Flower Girls" (CL-16)


Friday, June 9, 2017

Origami Gift Card Holders


I learned how to make these cute origami gift card holders by looking at a few tutorials then I combined what I liked best into some simple instructions.


 Start with a 7" x 10" piece of paper.  Fold in half lengthwise and widthwise:


Next fold each edge to the center...widthwise:


and lengthwise:


Open the paper up and fold each corner to the first fold line, as shown below:


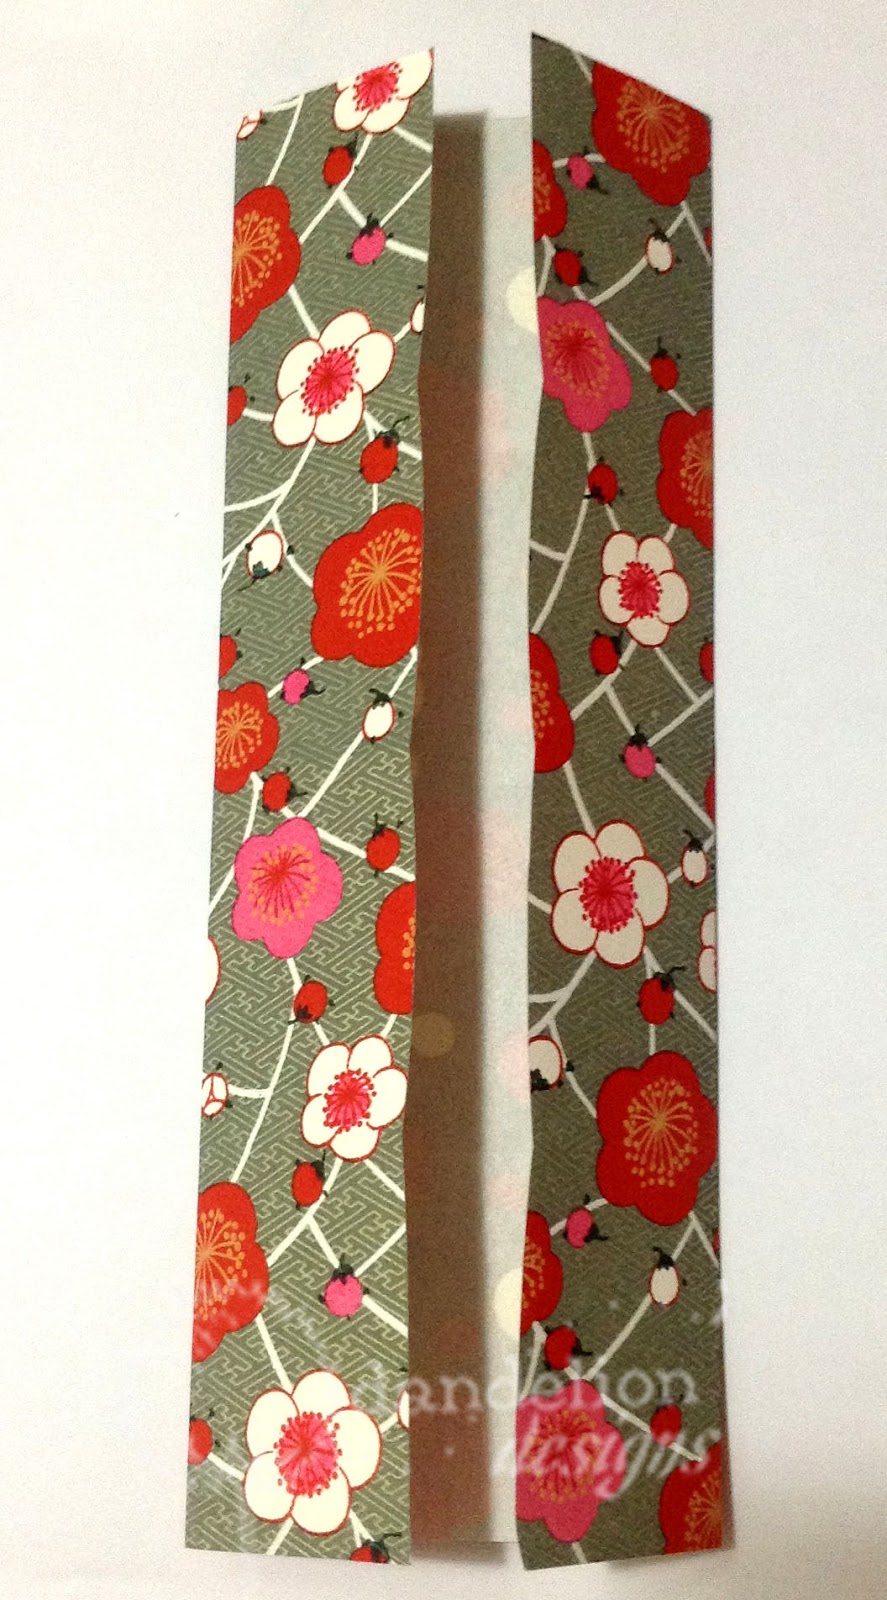
Fold each long edge to center line: 


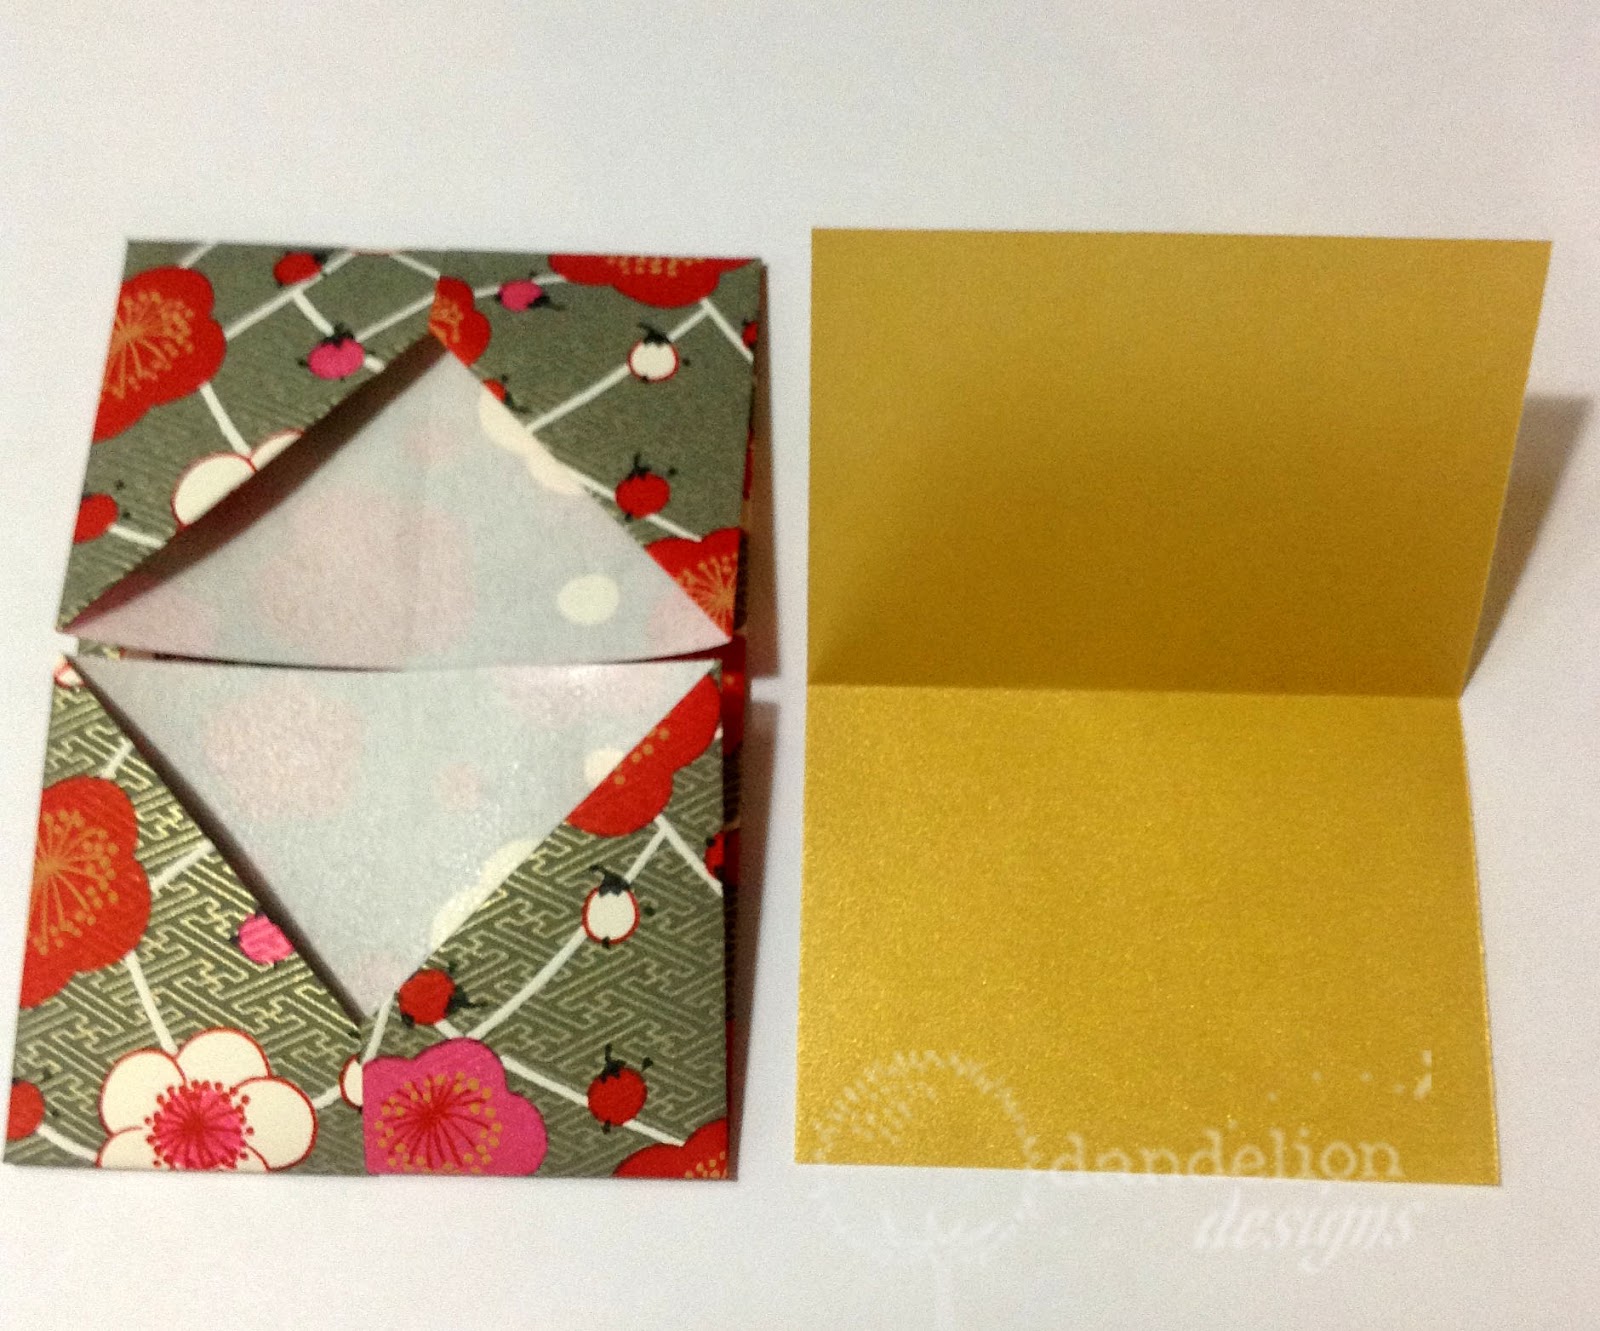
 Flip paper over and fold both ends to the center.  Cut a contrasting piece of paper measuring 
3-3/8" x 4-7/8" and fold in half.


Place the insert into the gift card holder, as shown below:


 To make a greeting...cut a piece measuring 2-1/4" x 3-1/4"


Thursday, June 1, 2017

Folded Envelope

I made this folded envelope to hold a gift of money...just the right size to fit a folded bill.  Click here to get a pattern.


To see step-by-step how-to's...click here.  The pattern in the link is slightly smaller than the one shown in this picture...I enlarged the pattern to fit a folded bill.  Hmmm...maybe a gift for graduation?

Tuesday, May 30, 2017

Keyring...

...using stamps from cling set, "Whooo Loves You" (CL-19).

front view:


back view:


Monday, May 29, 2017

Saturday, May 27, 2017

Layered Card


I tried to create a card with a lot of depth by using sheets of acetate and double stick foam...


Start by cutting 2 pieces of acetate and 1 piece of patterned paper to 3-1/2" x 4".  Add double stick foam (cut in half to make a narrower width) to the edges of the acetate piece (For the piece with the girl...I used double stick tape around the edges of the top and back of the acetate piece).   I also used foam dots under some of the sakura.  To make the white frame, I cut a piece of white card stock to 4-1/4" x 4-3/4" and then cut 3/4" from each edge.


 You can add some glitter before adhering the acetate with the 3 sakura aver the acetate with the girl.  Stick white frame over the acetate pieces and mount on a card (card size:  4-3/4" x 10-1/2" of card stock, folded in half).