

Sunday, September 27, 2015
Saturday, September 26, 2015

Someone requested a pattern for a project I posted awhile ago for our "Teeny Weeny Scenery" (MC-55 - Teeny Weeny Garden) stamp:

For anyone else who may be interested...you can click here for a pattern. While I was at it, I made another one using our Christmas sets (MC-53 - Teeny Weeny Christmas and MC-11 - Happy Holidays)

Hope you're all staying dry this weekend...perfect stay-at-home and craft weather!!!

Monday, September 7, 2015

Saturday, September 5, 2015

Wednesday, September 2, 2015
Blue Bird of Happiness...
I used the 2nd panel from our new cling set, "Happiness" (CL-21), to make this little gift box:


Slide open to reveal a tiny gift:

Monday, August 24, 2015
"Happiness" Notepad
Back today to share a project using just one of the panels from our new cling set, Happiness (CL-21)

I found these really cute notepads at Ben Franklin...they're all ready for you to decorate any way you choose! I used the panel with the happy kimono girl and the sakura. I stamped, colored and cut out a couple of extra sakura blossoms (back and front held together with a foam dot) to dangle from the gold cord. Plus, I added a few images to the back of the notepad:

Here's what the undecorated notepad looks like (I love that it has a magnetic closure!!):

Sunday, August 23, 2015

Friday, August 14, 2015
Happiness!!
Introducing our latest set...Happiness (CL-21)

Here is the project for this set:
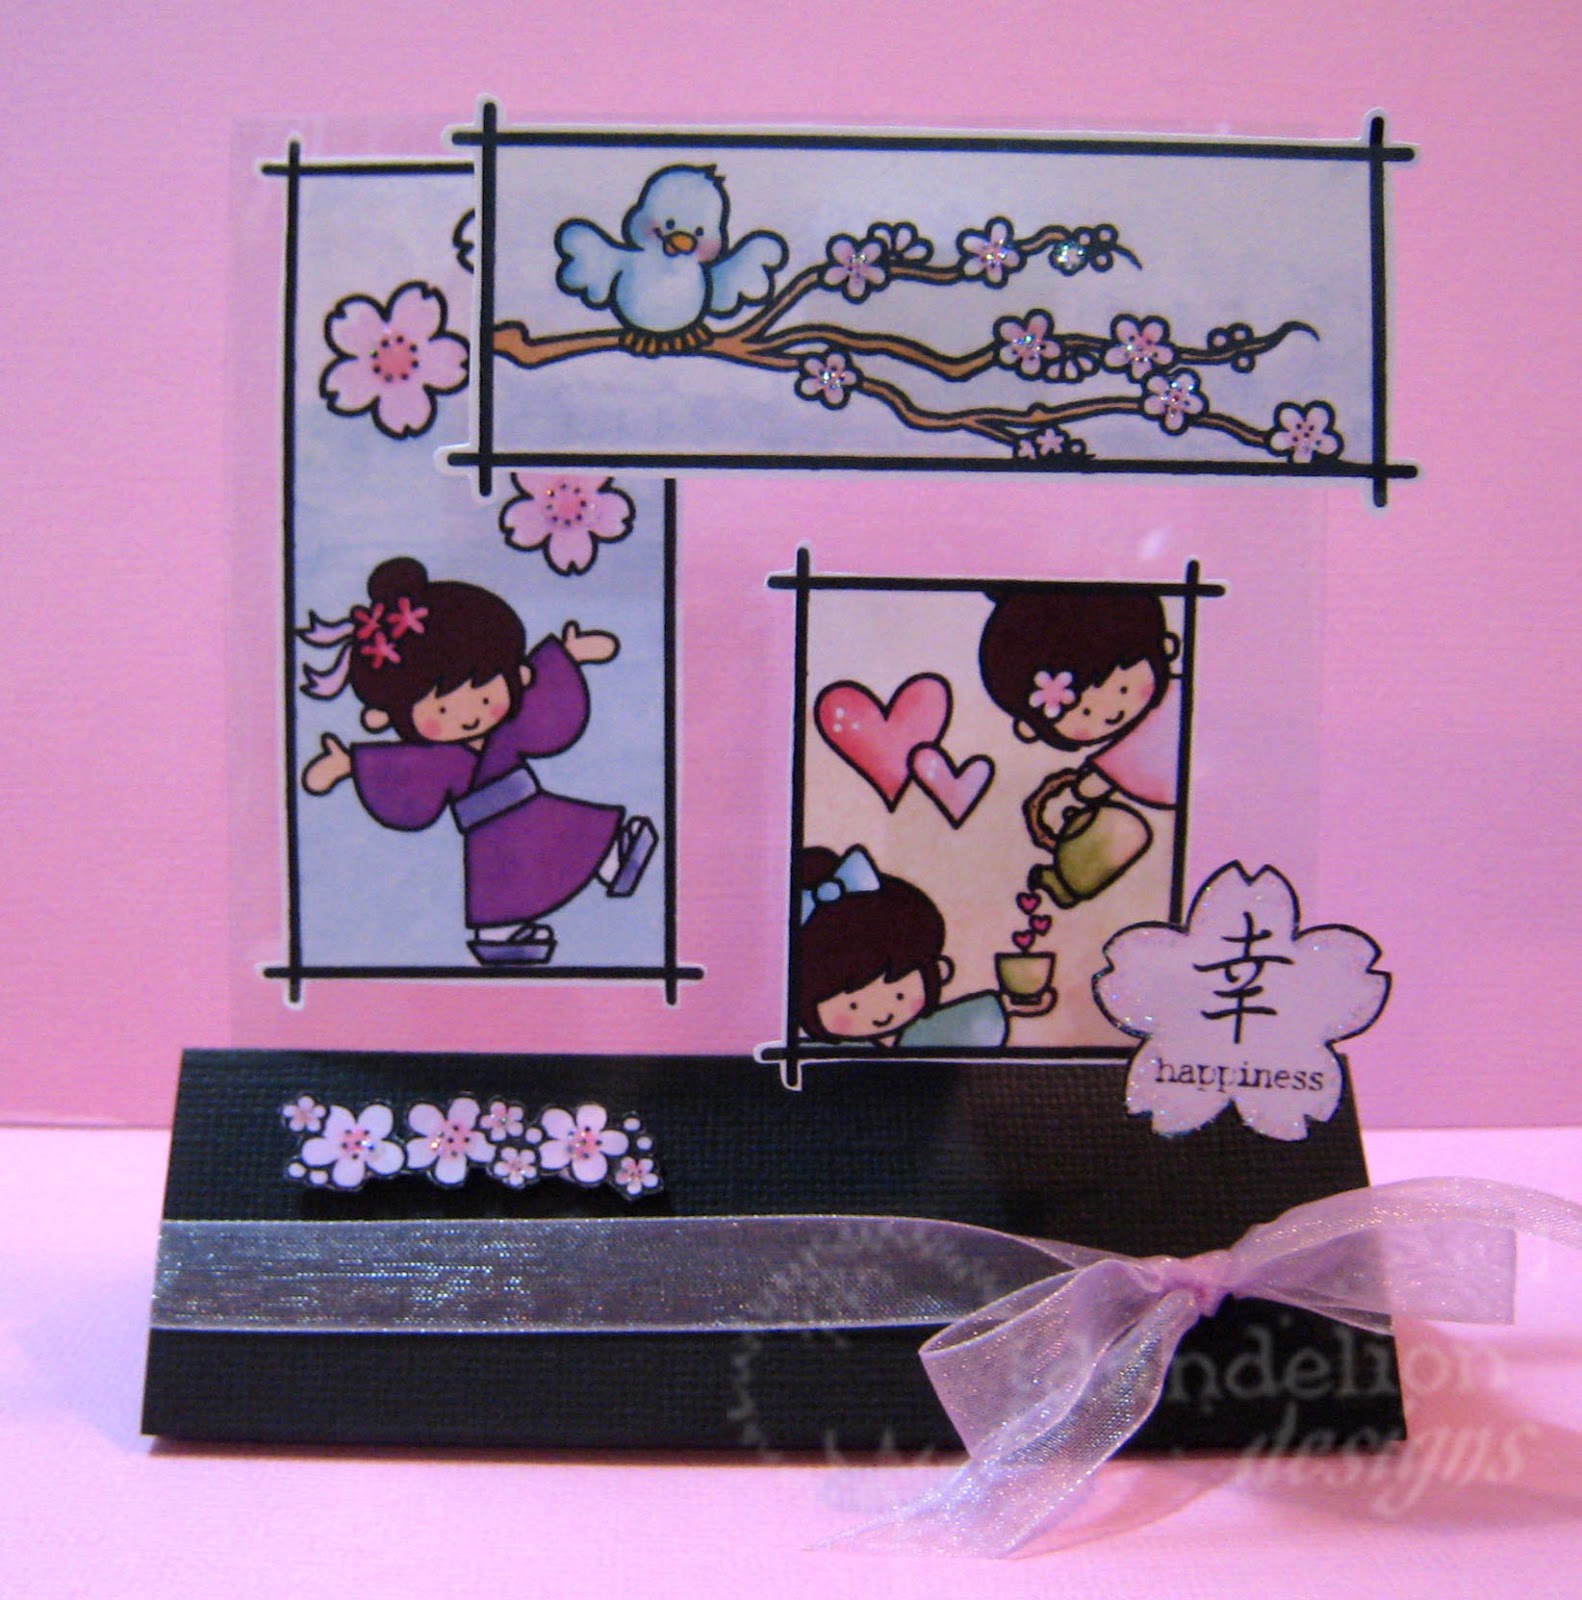
Instructions to make this project are included in the stamp set and will be arriving in stores soon!!!
Sunday, July 12, 2015

Sunday, July 5, 2015
A Quick How-To...
Hope you all had a great long weekend! Just stopping by with quick pointers on how to make some of the shadow boxes I've been posting. With these tips you can make any combination of stamped images into a shadow box...

First start off by getting the images you want to include in your project...measure the height and width of each one (save these measurements to make window cut outs toward the end of the project):

Next...add 1" to both the height and width and cut out papers in these measurements. Score 1/4" and 1/2" from each of the 4 sides:

Make 3 snips along scored lines in each corner as shown in photo below:

Put double stick tape on each of the 4 tabs that have just been created:

Fold in along each of the 1/2" scored lines...the taped tabs will form the 4 corners of the box:

Next, fold out on each of the 1/4" scored line...then apply double stick tape to all four tabs:

Put your stamped images into each box and arrange them how you would like them to appear. Now you're going to measure the height and width of the entire piece (be sure to include tabs in your measurements):

Again add 1" to both the height and width measurements and score at 1/4" and 1/2" from each side. Make the same 3 snips at each corner. Cut out windows to match the boxes and tape a piece of acetate to the back of the piece to form windows:

Tape boxes to windows. Fold in along 1/4" scored line and fold in again along 1/2" scored line. Apply double stick tape along all four edges of frame and adhere to backing piece (cut to any size you want).

Check back to some of my previous posts to see some other examples. You can use this same idea for any sized project with any number of images!
Oh...and here's one more card for a special someone...

Subscribe to:
Posts (Atom)


