

Tuesday, December 25, 2012
Friday, December 21, 2012
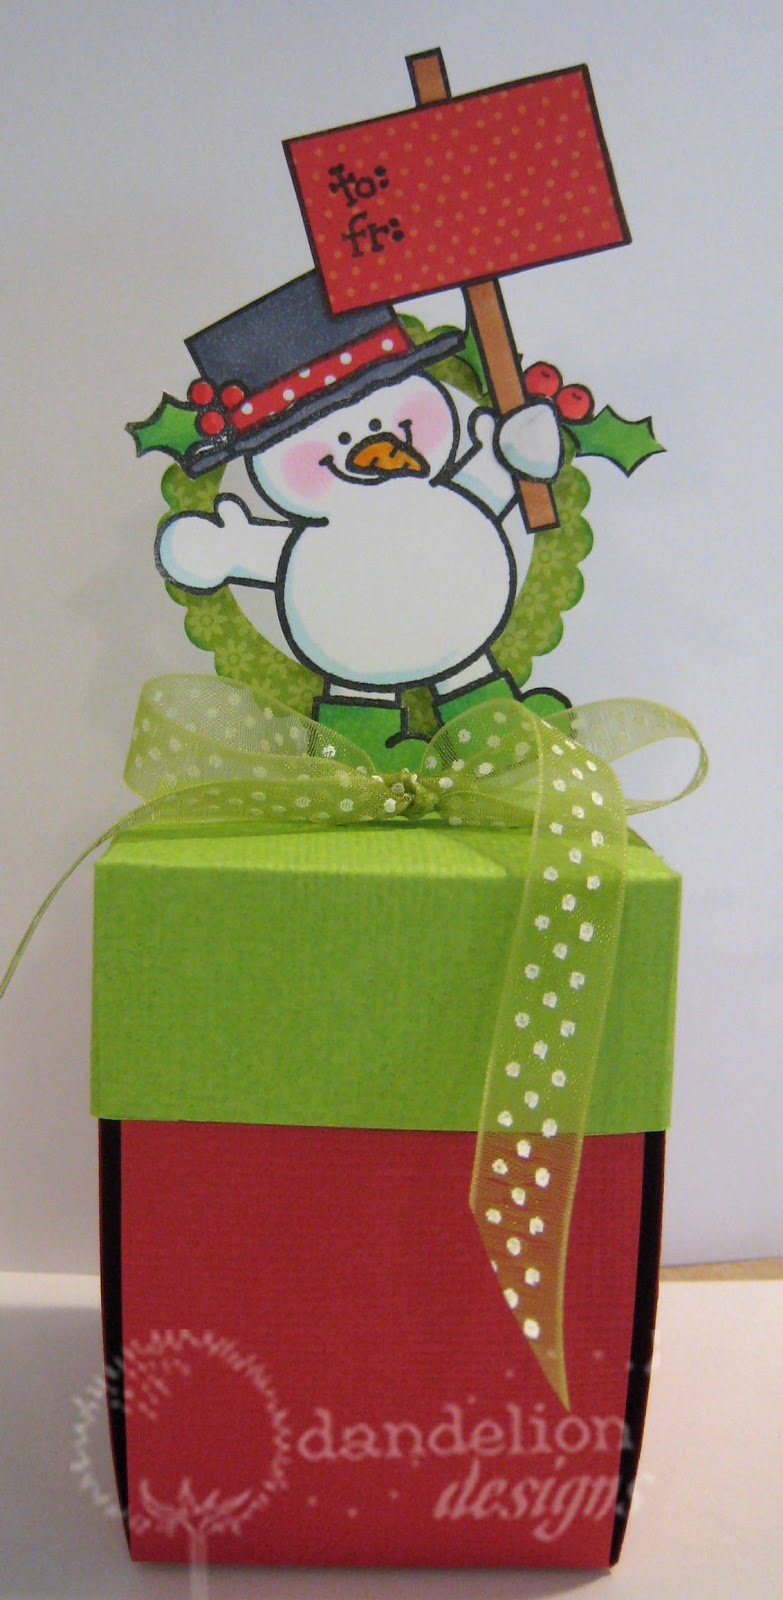
Gift Card Box
Back today with the same project as yesterday, but tweaked a little to fit a gift card. Click here to get back to the original post. Follow the same steps,except start with a 9-1/16" x 9-1/16" card stock and score 3-1/2" from each side. Other than that the instructions are the same...you can still use the same cover pattern too. Here's what the box looks like:


I know my sidebar says that all designs on this blog are by Dandelion Designs...but I couldn't resist breaking that rule to share the following wonderful creations with you. They were both made by the super talented Patti (Creations by Patti)...this link will take you to the instructions for the snowman box, but you gotta look around while you're there. I admit I dumped out the goodies inside to figure how she made this...I still don't get it!!!


And I guess it's that time of year to get going on calendars...I've been having so much fun seeing what creative things people are coming up with!! These are sure to inspire you:

Matchbook style calendar made by Lianne...so handy to keep in your purse!!!

Cuties by Edna from Oregon (Each girl has a different kimono pattern!!!):

Wow!! Talk about mass production!! These are by Karen (Have a Scrap Happy Day). They're also magnets...what a cool idea!!

Thanks for taking a peek today!!!
Thursday, December 20, 2012
Last Minute Gifts
Hope you're all finding time to enjoy the holiday season!! I've been doing some last minute crafting...I always end up with a few gifts of money and gift cards and I try to find some fun ways to "wrap" them. This year I went with a project from a few years ago called an "Inside Out Box". Click here for the original post with the how-to's. Here's an example of the box done up for Christmas:

Remove the cover, and this is what's on the inside of the box:

Turn the box "inside out"...using the cover as the base for this stand-up greeting:

I changed it up a bit to use as a money box. I attached the snowman to the top of the cover:
And instead of attaching a character on the inside of the box, I wrapped some money around the stand in the center (you can tape the money to the "stand" if you want it to be more secure):


With a few tweaks you can use this same idea for gift cards...I'll show you a sample tomorrow!!
Friday, December 14, 2012
Mix and Match - Part 2
Back today with more mixin' and matchin'...this time I'm using our new set CL-13 (Bear Hugs) and mixing it up with some different characters:

Max is from MC-2 (So Glad We're Friends)


Ping is from MC-1 (Friend to Friend)


Lil Monster is from MC-3 (Smile)

The arms on each of these characters spread out as you open the card (pattern included in CL-13).
Thanks for stopping by today!!!
Thursday, December 13, 2012
Mix and Match - Part 1
Just wanted to share some boxes I made...I'm still using the heart box pattern and rosebud heart that comes in our new set CL-14 (Roses)...but, I did some mixin' and matchin' with some of our seasonal stamps so you can make them throughout the year:

Christmas box: Peppermint stamps are from MC-33 (Merry Christmas)


Halloween Box: Bat and spider web stamps are from MC-26 (Spooky).


Easter box: Easter egg stamp #1212 and 1213

Sunday, December 9, 2012
All Done Up For Christmas
With a few tweaks you can turn our new stamps from Bear Hugs (CL-13) into a Christmas card. Simply add a Christmas Greeting (C114 Christmas Hugs)) with a few holiday extras (Santa's Hat and Peppermints are from MC-33 - Merry Christmas...and Holly from MC-8 - Christmas Flowers) to get:


Saturday, December 8, 2012
New Designs!!
How time flies!! I guess it's been awhile since I've been around, but I have been busy getting some new stamps ready!! Without further ado...here are our 2 latest sets:


As you may know, our large cling stamp sets come with a free project...and here is the project that comes with CL-13 Bear Hugs:

Remove the belly band to reveal:

Open the card wider and the bear's arms stretch out to give you a huge bear hug:

And here is the project that comes with CL-14 Roses:

The word "love" was stamped in the banner...but, you can also fill the banner with names to personalize it!!

I'll be back later to show you how you can tweak these projects for use during the upcoming holidays!!
Subscribe to:
Posts (Atom)


